
There is nothing quite like the aroma of sizzling garlic and rich butter filling your kitchen after a long exhausting day. When you need a meal that is incredibly fast deeply comforting and guaranteed to please even the pickiest eater’s chicken is the ultimate canvas. But let’s be honest chicken breast has a bad reputation for turning out dry chalky and tasteless.
We are here to change that forever.
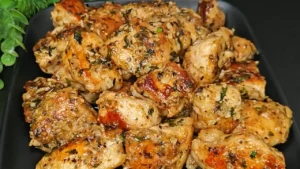
This guide is your masterclass in creating the ultimate Easy Garlic Butter Chicken Dinner Recipe. Not only will we walk you through a foolproof 20-minute base recipe but we will also share the 5 vital secrets to keeping chicken breast incredibly juicy every single time. We will explore flavor variations side dish pairings meal prep tips and troubleshooting advice.
Before we dive into the cooking process let’s look at the science of flavor. Why does garlic butter taste so incredibly good on chicken.
Fat as a Flavor Carrier: Butter is an emulsion of water milk solids and fat. Chicken breast is an incredibly lean meat. Adding butter introduces the necessary fat that coats your palate allowing the savory chicken flavors to linger longer.
The Allicin Reaction: When garlic is crushed or chopped a compound called allicin is formed. When gently cooked in butter these sharp, pungent notes soften into a sweet nutty and deeply aromatic flavor profile that penetrates the meat.
The Maillard Reaction: The milk solids in butter caramelize at high heat working in tandem with the natural proteins in the chicken to create a rich golden brown crust full of umami.
To make this iconic recipe you only need a handful of simple high quality ingredients. Here is what you will need and the best substitutions if you are running low on supplies.
Boneless, Skinless Chicken Breasts: The classic choice for a lean quick cooking meal.
Substitutions: You can easily swap these for boneless skinless chicken thighs. Thighs contain more fat and are highly forgiving making them incredibly juicy and flavorful though they require a few extra minutes of cooking time.
Unsalted Butter: Using unsalted butter allows you to control the exact saltiness of your dish.
Olive Oil or Avocado Oil: A tablespoon of high heat oil is used to sear the chicken initially preventing the butter from burning too quickly in the hot pan.
Substitutions: Ghee (clarified butter) is an excellent alternative because it has a much higher smoke point than regular butter meaning it won’t burn during a high heat sear.
Fresh Garlic: Use freshly minced or grated garlic for the brightest most vibrant flavor. Avoid the pre minced jarred garlic if possible as it lacks the punchy flavor of fresh cloves.
Italian Seasoning: A classic blend of dried oregano basil thyme and rosemary.
Onion Powder & Paprika: Adds depth of flavor and a beautiful golden red color to the crust of the chicken.
Salt & Black Pepper: Crucial for bringing out all the natural flavors.
Fresh Lemon Juice: A squeeze of fresh lemon juice at the very end cuts through the richness of the butter and brightens the entire dish.
Fresh Parsley: Finely chopped parsley adds a pop of color and a fresh clean finish.
For those keeping track of their macro nutrients this recipe is highly versatile. It is naturally low carb keto friendly gluten free and high in clean protein.
Here is an approximate nutritional breakdown per serving (based on 4 servings):
| Nutrient | Amount per Serving |
| Calories | 320 kcal |
| Protein | 35g |
| Fat | 18g |
| Saturated Fat | 9g |
| Carbohydrates | 2g |
| Fiber | 0g |
| Sugar | 0g |
| Sodium | 480mg |
Let’s walk through the entire process of making the ultimate Easy Garlic Butter Chicken. Follow these steps closely for culinary perfection.
Start by patting your chicken breasts dry with paper towels. Removing surface moisture is critical, if the chicken is wet it will steam in the pan instead of getting that beautiful golden brown sear.
Slice the breasts horizontally into even cutlets or use a meat mallet to pound them down to an even 1/2 inch thickness.
In a small bowl mix together your dry seasonings salt black pepper garlic powder onion powder paprika and Italian seasoning. Sprinkle this spice blend generously on both sides of the chicken cutlets pressing it lightly into the meat so it sticks.
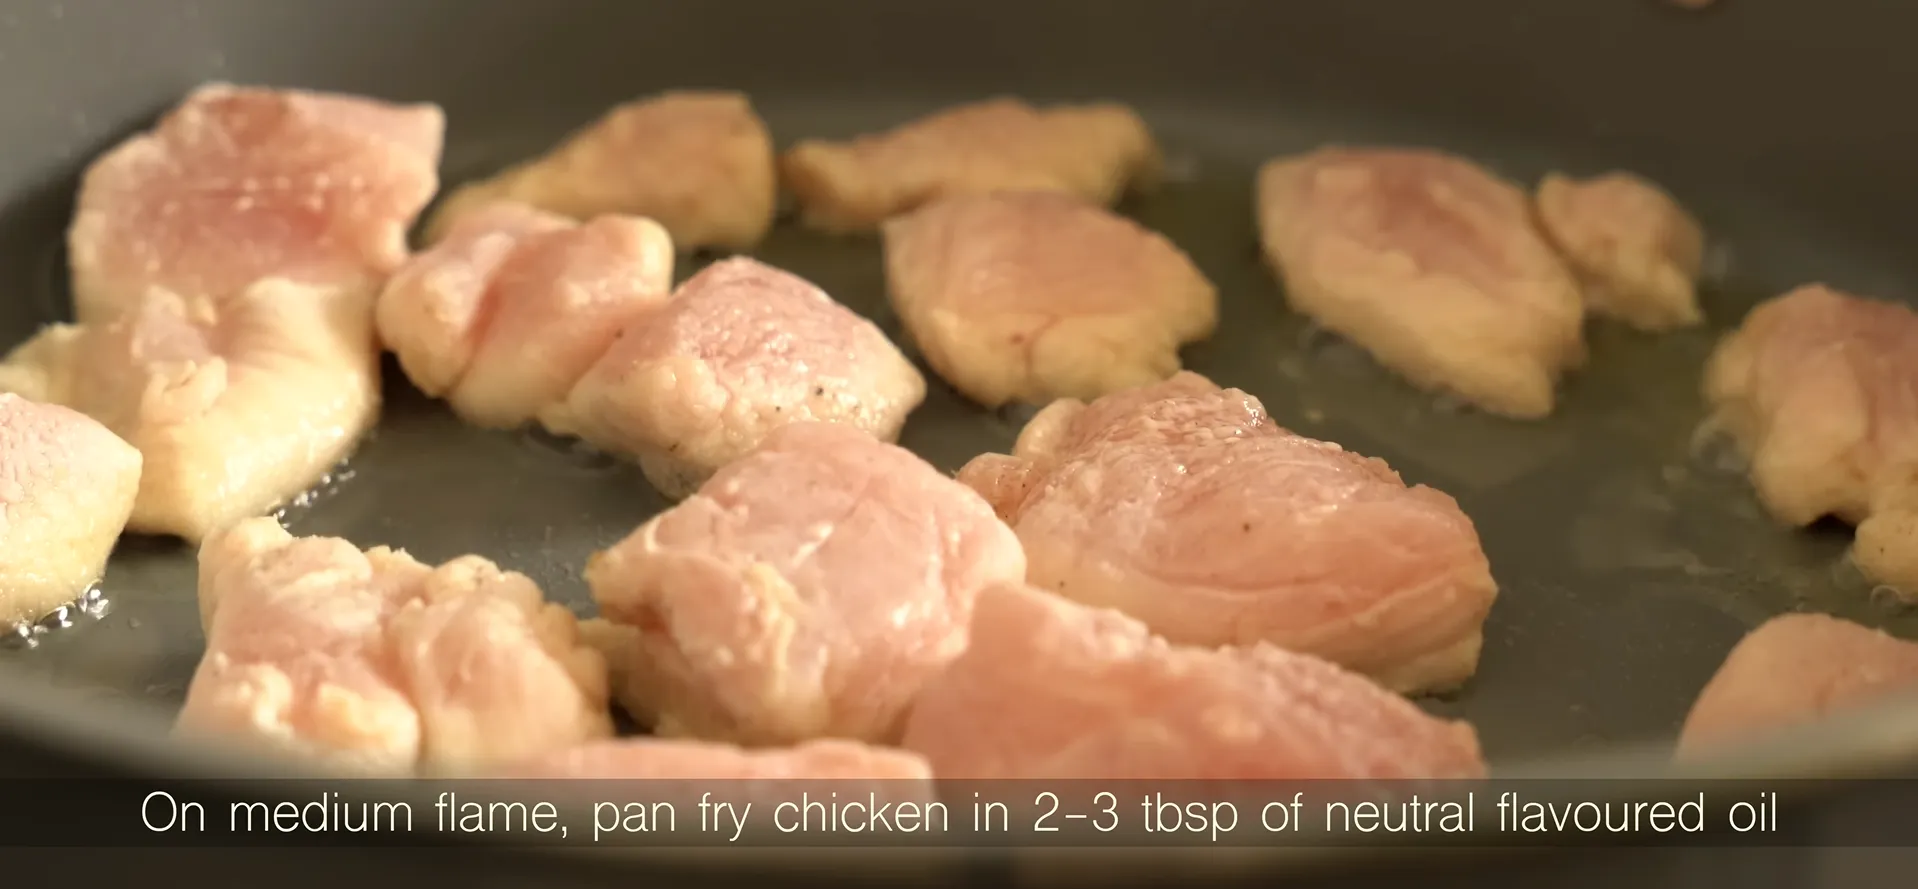
Place a large skillet (cast iron or heavy bottomed stainless steel works best) over medium high heat. Add one tablespoon of olive oil. Once the oil is shimmering and hot carefully add the seasoned chicken cutlets to the pan.
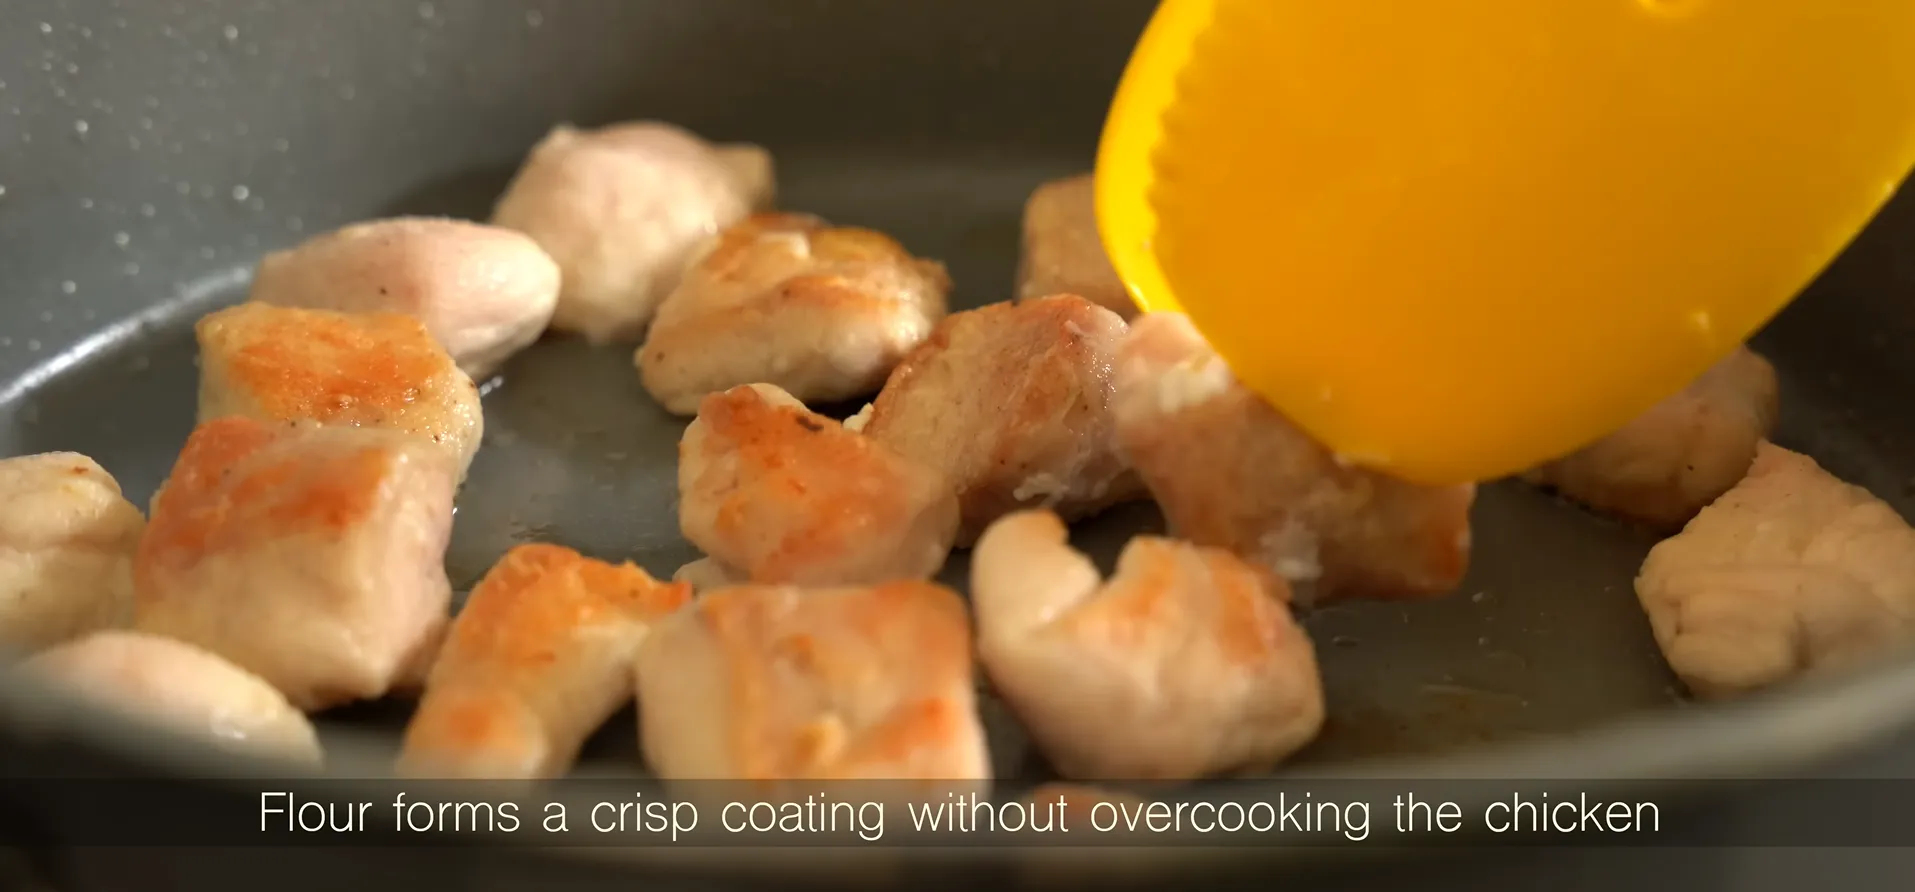
Cook undisturbed for 4 to 5 minutes on the first side until a deep golden brown crust has formed. Flip the chicken over and cook for another 3 to 4 minutes on the other side.
Turn the heat down to medium low. Add the butter directly to the pan around the chicken. As the butter melts toss in your freshly minced garlic. Stir the garlic gently in the melting butter to prevent it from burning. Let it cook for about 1 minute until it becomes incredibly fragrant.
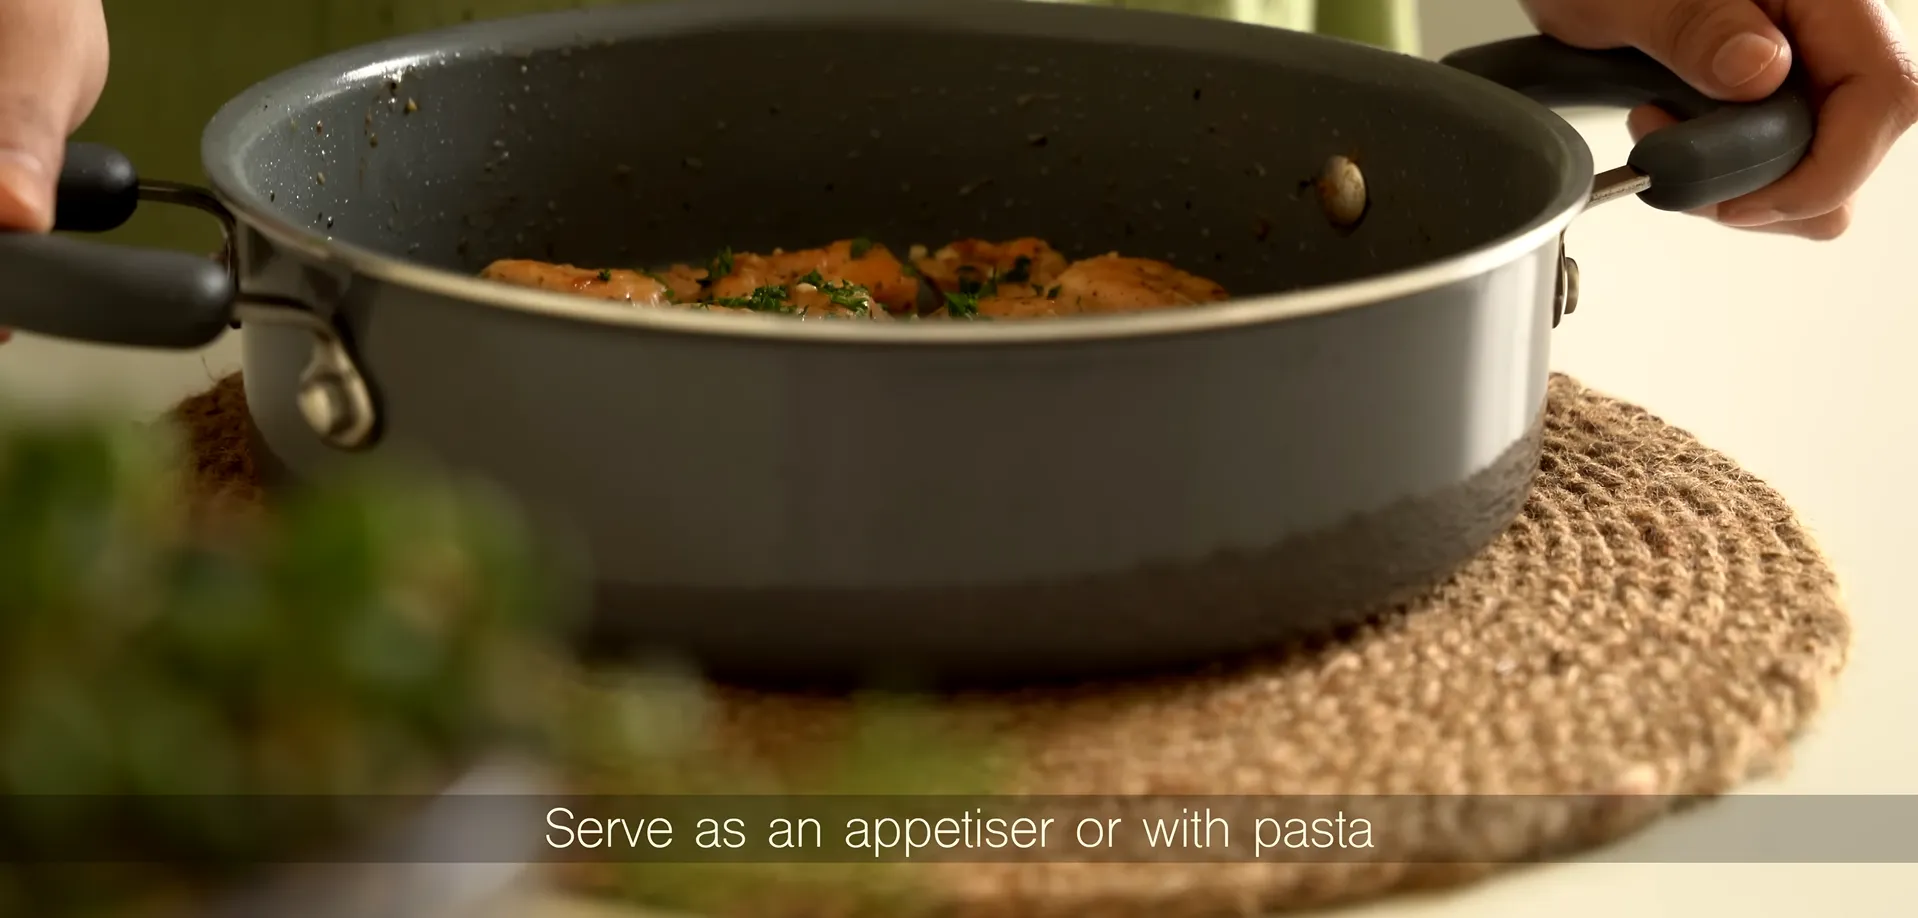
Tilt the skillet slightly and use a large spoon to scoop up the hot garlic butter pouring it repeatedly over the chicken cutlets. This process known as arroser in French cooking keeps the chicken moist and bathes it in rich flavor.
Once the internal temperature of the thickest part of the chicken reaches 165°F (74°C) squeeze the fresh lemon juice over the top and scatter the chopped parsley.
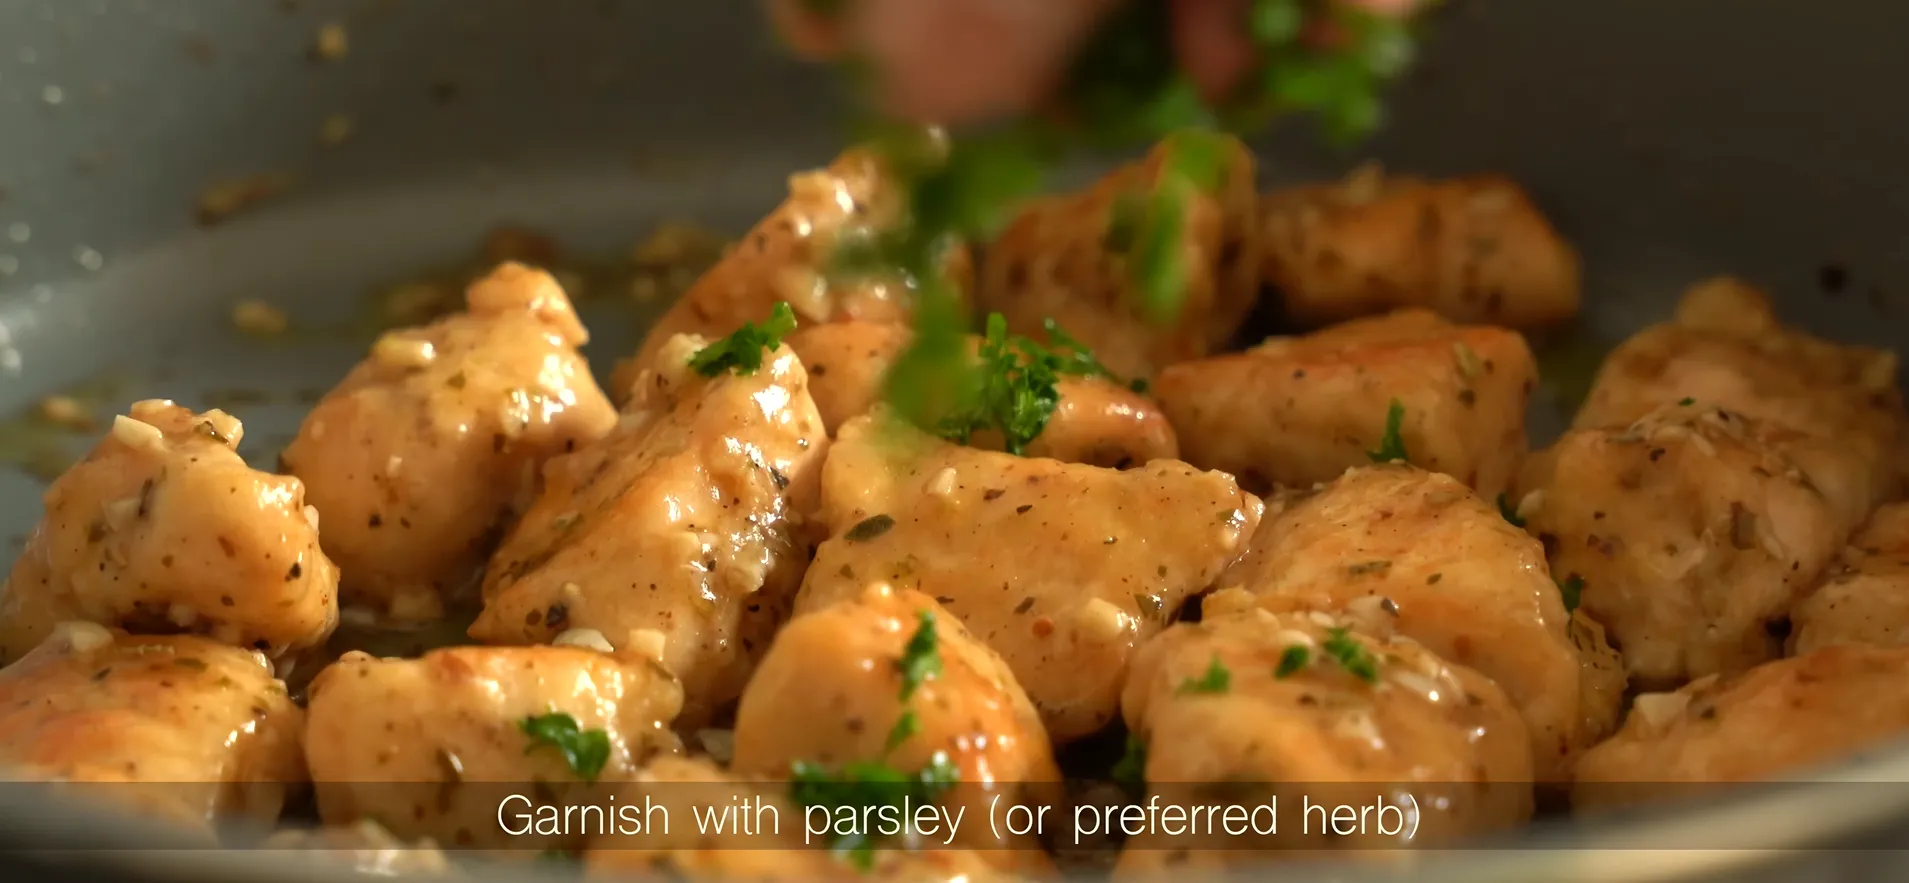
Remove the skillet from the heat. Transfer the chicken to a warm serving platter and pour the remaining garlic butter sauce from the pan right over the top. Let the meat rest for 5 minutes before slicing and serving.
Many home cooks avoid chicken breasts because they fear the dry, rubbery texture that comes with overcooking. If you want restaurant quality melt in your mouth chicken you must follow these five non-negotiable rules.
Chicken breasts are naturally uneven thick at one end and tapered at the other. If you cook them as they are the thin end will dry out before the thick end is safely cooked through.
The Solution: Place your chicken breasts between two sheets of plastic wrap or parchment paper. Using a meat mallet or the bottom of a heavy skillet gently pound the thickest parts of the meat until the entire breast is an even thickness (about 1/2 to 3/4 inch). This ensures every bite cooks at the exact same rate.
If you don’t want to pound the meat slice your chicken breasts horizontally into thinner cutlets. Thinner cutlets cook much faster which drastically reduces the window of time for the meat to dry out. It also doubles the surface area giving you twice as much delicious seasoned crust.
Salting your meat ahead of time changes its physical structure. Salt draws out the chicken’s moisture dissolves and is then reabsorbed into the muscle fibers. This breaks down tough proteins allowing the meat to hold onto its juices much better during cooking. Even a quick 15-minute dry brine (salting the chicken while it rests on the counter before cooking) makes a massive difference.
To keep chicken juicy you want to lock in the juices quickly. Sear the chicken in a hot skillet with a high smoke point oil (like avocado or canola oil) first to get a beautiful golden crust. Save the butter for the final few minutes of cooking. Dropping the heat and basting the chicken with spoonfuls of melted garlic infused butter coats the meat and prevents it from drying out on the stove.
When chicken cooks the muscle fibers tighten pushing the juices toward the center of the meat. If you cut into a chicken breast immediately after removing it from the heat all those delicious juices will run out onto your cutting board leaving you with dry meat.
The Golden Rule: Transfer your chicken to a plate tent it loosely with aluminum foil and let it rest for 5 to 8 minutes. This allows the muscle fibers to relax and reabsorb the juices throughout the entire cutlet.
Once you have mastered the basic recipe, you can easily customize it to suit your cravings. Here are five delicious ways to elevate your garlic butter chicken.
Transform this simple dish into a rich restaurant style meal by adding heavy cream and leafy greens.
How to do it: After searing the chicken and cooking the garlic add 1/4 cup of chicken broth and 1/2 cup of heavy cream to the pan. Bring to a simmer then stir in two large handfuls of fresh baby spinach. Let the spinach wilt and the sauce thicken slightly before returning the chicken to the pan to coat.
Mushrooms absorb the garlic butter like little sponges adding a wonderful earthy depth to the dish.
How to do it: Saute sliced cremini or button mushrooms in the skillet with a bit of olive oil before cooking the chicken or cook them alongside the chicken if your pan is large enough. Let them get beautifully browned and caramelized in the garlic butter.
If you love a bit of heat this variation adds a perfect kick to balance out the rich butter.
How to do it: Add 1/2 teaspoon of crushed red pepper flakes and a pinch of cayenne pepper to the spice rub. Finish the dish with fresh chopped basil and oregano alongside the parsley.
A classic French Italian variation that tastes highly sophisticated but is incredibly simple to execute.
How to do it: After searing the chicken deglaze the hot pan with 1/2 cup of dry white wine (like Pinot Grigio or Sauvignon Blanc). Let the wine reduce by half to cook off the alcohol then melt in the butter garlic and a heavy splash of lemon juice.
An elegant summer twist featuring fresh tomatoes mozzarella and balsamic glaze.
How to do it: During the last two minutes of cooking place a thick slice of fresh mozzarella cheese and sliced ripe Roma tomatoes on top of each chicken cutlet. Cover the skillet with a lid for 1 to 2 minutes until the cheese is melted and bubbly. Drizzle with a sweet balsamic glaze just before serving.
This dish is incredibly versatile meaning it pairs beautifully with a wide array of side dishes. Here are some of the best options depending on your dietary goals.
Cauliflower Mash: A silky low-carb alternative to traditional mashed potatoes. Spooning the warm garlic butter sauce over cauliflower mash is absolute heaven.
Zucchini Noodles (Zoodles): Toss fresh zucchini noodles directly into the warm pan with the garlic butter for 1 to 2 minutes just before serving.
Roasted Asparagus or Broccoli: Toss these green veggies in olive oil salt and pepper and roast them at 400°F (200°) for 15 minutes. The charred edges pair perfectly with the rich chicken.
Garlic Mashed Potatoes: The ultimate classic pairing. Use plenty of cream and butter in your potatoes and pool the pan sauce on top.
Jasmine or Basmati Rice: Plain white rice is excellent for soaking up every last drop of the rich garlicky butter sauce.
Crusty French Bread: Warm up a loaf of artisan bread or a baguette to swipe through the pan juices.
Can you make garlic butter chicken ahead of time. Absolutely! It is a fantastic option for weekly meal prep.
Refrigeration: Store any leftover chicken and garlic butter sauce in an airtight container in the refrigerator for up to 3 to 4 days.
Freezing: You can freeze the cooked chicken in its sauce for up to 2 months. Let it thaw completely in the refrigerator overnight before reheating.
Reheating chicken breast can be tricky because it is incredibly easy to overcook and dry out during the second round of heating.
The Oven Method (Best Results): Place the chicken and its sauce in a baking dish. Splash a tablespoon of water or chicken broth over the top. Cover the dish tightly with aluminum foil to trap the steam. Heat at 350°F (175°C) for 10 to 12 minutes until warmed through.
The Skillet Method: Place the chicken and sauce in a skillet over medium low heat. Add a splash of water cover with a lid and let it steam gently for 5 minutes flipping the chicken once.
The Microwave Method: Slice the chicken into bite sized pieces first (this helps it heat evenly and quickly). Place it in a microwave safe bowl cover with a damp paper towel and heat on medium power (50-70%) in 30-second intervals until warm.
The simplest method is to cut chicken breasts into bite-sized pieces, season them with salt and pepper, and sear them in a hot pan with a tablespoon of oil until golden brown. Lower the heat, drop in 2–3 tablespoons of real butter and plenty of freshly minced garlic, and toss the chicken for 1-2 minutes until beautifully coated and fragrant.
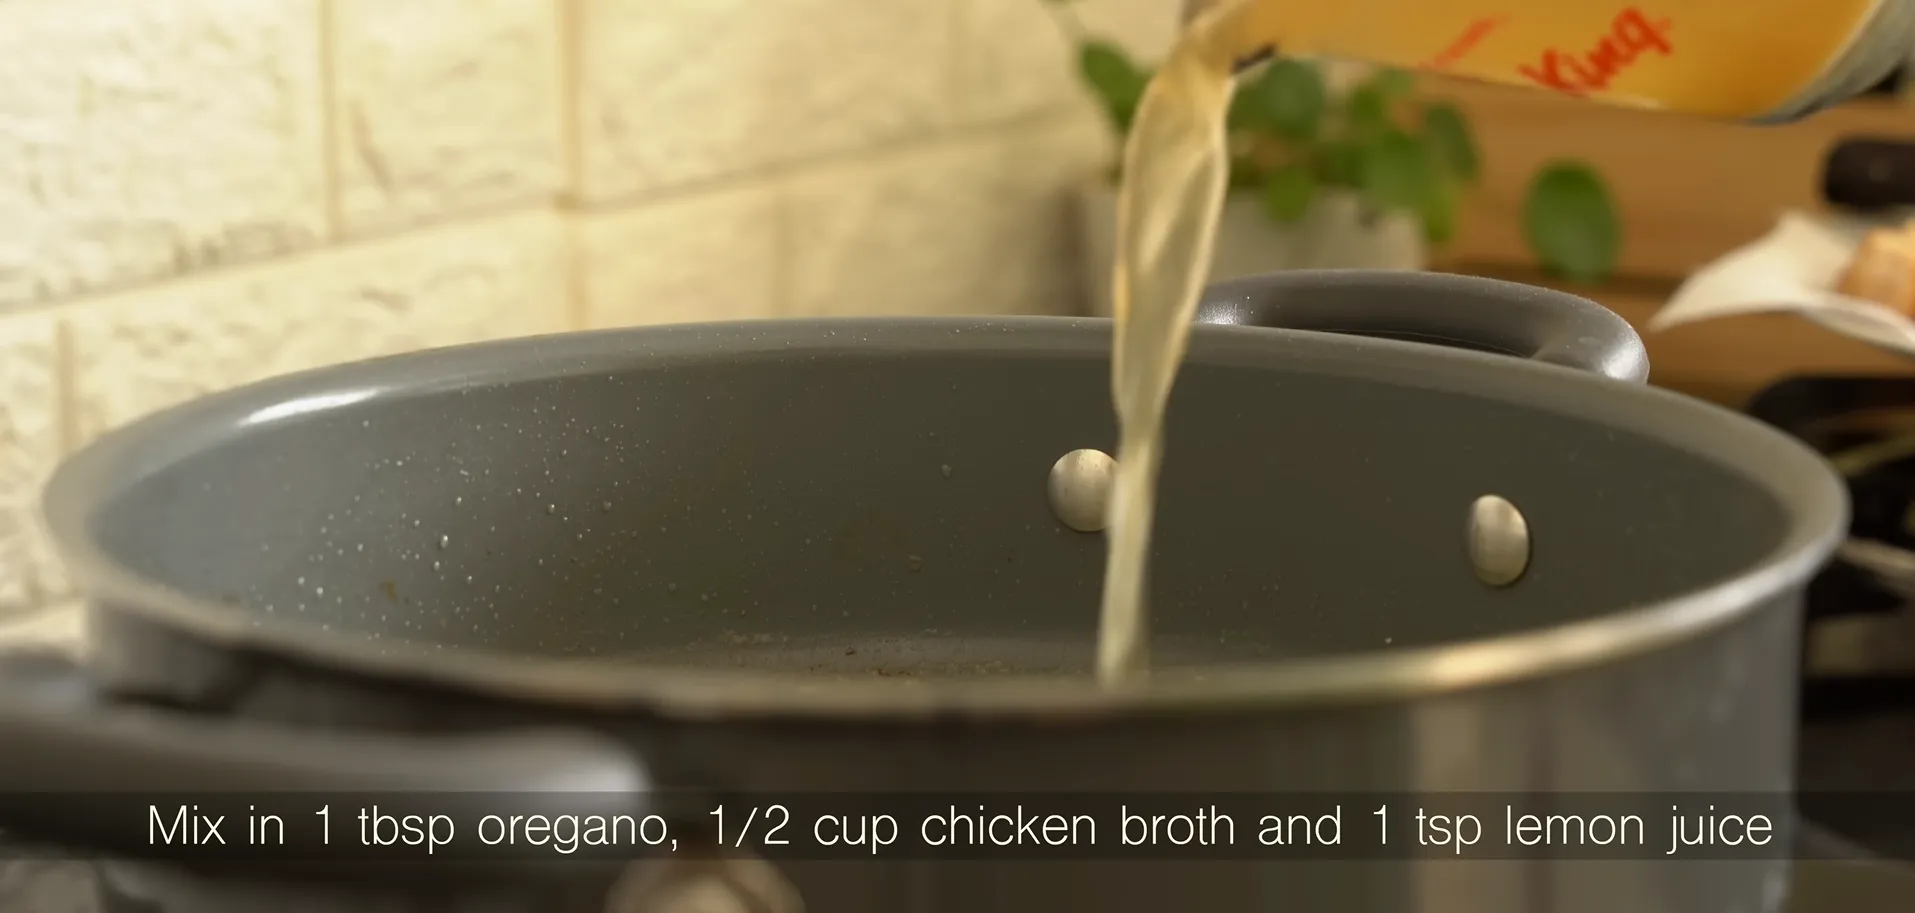
After pan-searing your chicken, remove it from the skillet. In the same pan, melt your butter and sauté the garlic. Then, pour in $1/2$ cup of chicken broth and $1/2$ cup of heavy cream (malai). Let it simmer for 2–3 minutes until it thickens slightly, then add the chicken back in along with a handful of fresh spinach or parmesan cheese for a luxurious texture.
The secret is coating your dry, seasoned chicken pieces lightly in 2 tablespoons of all-purpose flour (maida) or cornstarch before frying. Fry them in a skillet over medium-high heat with a mixture of oil and butter. The flour locks in the juices and creates a thin, beautifully golden, crispy outer shell that holds onto the garlic butter sauce perfectly.
The Filipino style butter garlic chicken often features a delicious sweet and savory balance. It typically uses bone in chicken pieces coated in flour or cornstarch fried until exceptionally crispy. The garlic butter glaze is then enhanced with a splash of soy sauce a hint of sugar or honey and sometimes Sprite or 7-Up to create a unique sticky umami rich coat.
Protein: Boneless chicken breasts or thighs.
Fats: High-quality unsalted butter and a high-smoke-point oil (like olive or vegetable oil).
Aromatics: Lots of fresh, finely minced garlic.
Seasonings: Salt, black pepper, and dried herbs (like oregano, parsley, or Italian seasoning).
Acid: Fresh lemon juice (to cut through the richness of the butter).
To make it a one-pan meal, dice your potatoes into small, even cubes. Sauté the seasoned potatoes in your skillet first with oil and a bit of butter until they are fork-tender and crispy on the outside (about 10-12 minutes). Remove them, sear your chicken in the same pan, build your garlic butter sauce, and then toss the crispy potatoes back in right at the end to soak up the sauce.
For a lighter “Garlic Chicken,” you can rely primarily on extra virgin olive oil to sear the chicken and cook the garlic. Instead of using a large amount of butter to build a heavy sauce, finish the dish with a generous squeeze of fresh lemon juice, a splash of chicken broth, and fresh herbs. It keeps the preparation incredibly easy while drastically lowering the calorie count.
The highly rated community style focuses on searing whole, seasoned chicken breast cutlets rather than cubes. Once flipped, the pan is deglazed with a little chicken broth or white wine, followed by melting cold butter cubes and minced garlic over low heat. The melted fat is repeatedly spooned (basted) over the tops of the cutlets to guarantee the meat stays incredibly tender and juicy.
Even with a simple recipe things can occasionally go wrong in the kitchen. Here is how to identify and fix common issues.
Problem: The butter burned and turned bitter.
Why it happened: Butter has a low smoke point because of its milk solids. If your pan is too hot when you add the butter or if you cook the garlic too long the milk solids will burn turning black and bitter.
The Fix: Next time, lower the heat significantly before adding the butter and garlic. If it burns it is best to quickly wipe out the pan with a paper towel and start the sauce over with fresh butter and garlic so you don’t ruin the flavor of the chicken.
Problem: The chicken is dry and tough.
Why it happened: The chicken was likely cooked too long, or the heat was too low causing the juices to slowly evaporate rather than being locked in by a quick sear.
The Fix: Make sure your skillet is hot before adding the chicken pound the meat to an even thickness, and use a digital meat thermometer to pull the chicken off the heat the exact moment it hits 165°F(74°C).
Problem: The seasoning is falling off the chicken.
Why it happened: The surface of the chicken was too wet when you applied the seasoning or there wasn’t enough oil in the pan to help form a crust.
The Fix: Always dry your chicken thoroughly with paper towels before applying spices and press the spices firmly into the meat with your fingers.



7 Responses