
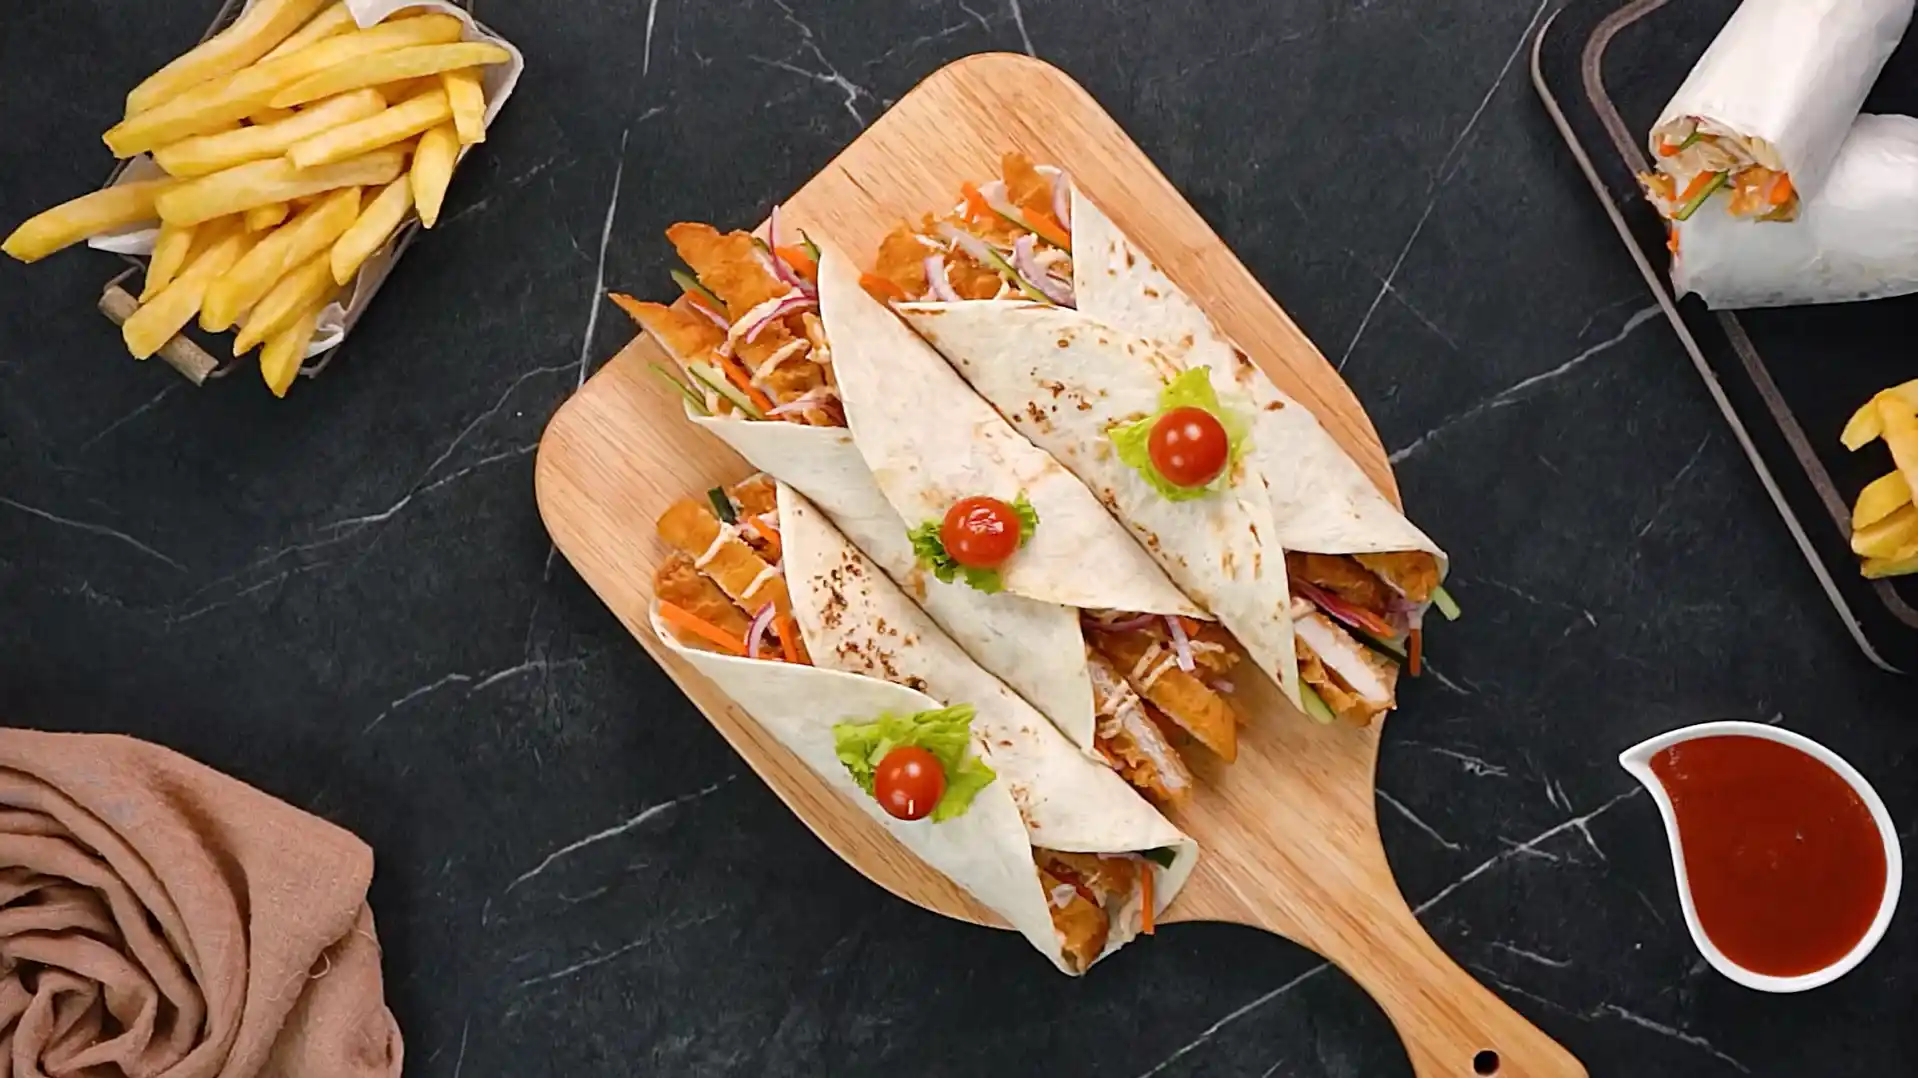
There’s a very specific kind of hunger that hits on a busy weekday evening you’re tired you don’t want to cook a real meal but you also don’t want another boring sandwich. This crispy chicken wrap recipe solves that problem completely. It comes together in about 10 minutes of active cooking uses a handful of ingredients you probably already have and tastes like something you’d order from a proper food truck rather than something thrown together at home.
The secret here isn’t a complicated technique it’s smart shortcuts. A ready to cook breaded chicken fillet does the heavy lifting so you skip the breading and marinating process entirely. A quick vegetable pickle adds crunch and tang without any real prep skill. And a five ingredient spicy mayo ties the whole thing together so it tastes like it came from a specialty wrap shop instead of your kitchen counter.
Let’s walk through exactly how to make it step by step along with all the small details that make the difference between a good wrap and a great one.
Most homemade wraps fail for one of three reasons: the chicken is dry, the tortilla is cold and cracks when you roll it or there’s no real sauce just a dollop of plain mayo that does nothing for the flavor. This recipe fixes all three problems on purpose.
The chicken stays juicy: Because it’s a pre breaded fillet that’s designed to fry quickly at high heat which seals in moisture while the coating turns golden and crisp. You’re not dealing with raw chicken breast that can easily overcook and dry out.
The tortilla stays soft and pliable: Because it gets briefly warmed on a dry pan before assembly. This one step often skipped by people in a hurry is what keeps your wrap from splitting down the middle the moment you bite into it.
The sauce actually has flavor: Because it’s built from a base of mayonnaise and hot sauce seasoned with garlic powder a touch of sugar and black pepper. That balance of creamy spicy sweet and savory is exactly what makes wraps from good food stalls taste so much better than anything from a jar.
On top of all that the quick pickled vegetables add acidity and crunch that cuts through the richness of the fried chicken and the creamy sauce so every bite feels balanced instead of heavy.
For the Spicy Mayo Sauce
This is the first thing you should do even before you turn on the stove for the chicken because the vegetables need at least 10-15 minutes to pickle while you handle everything else.
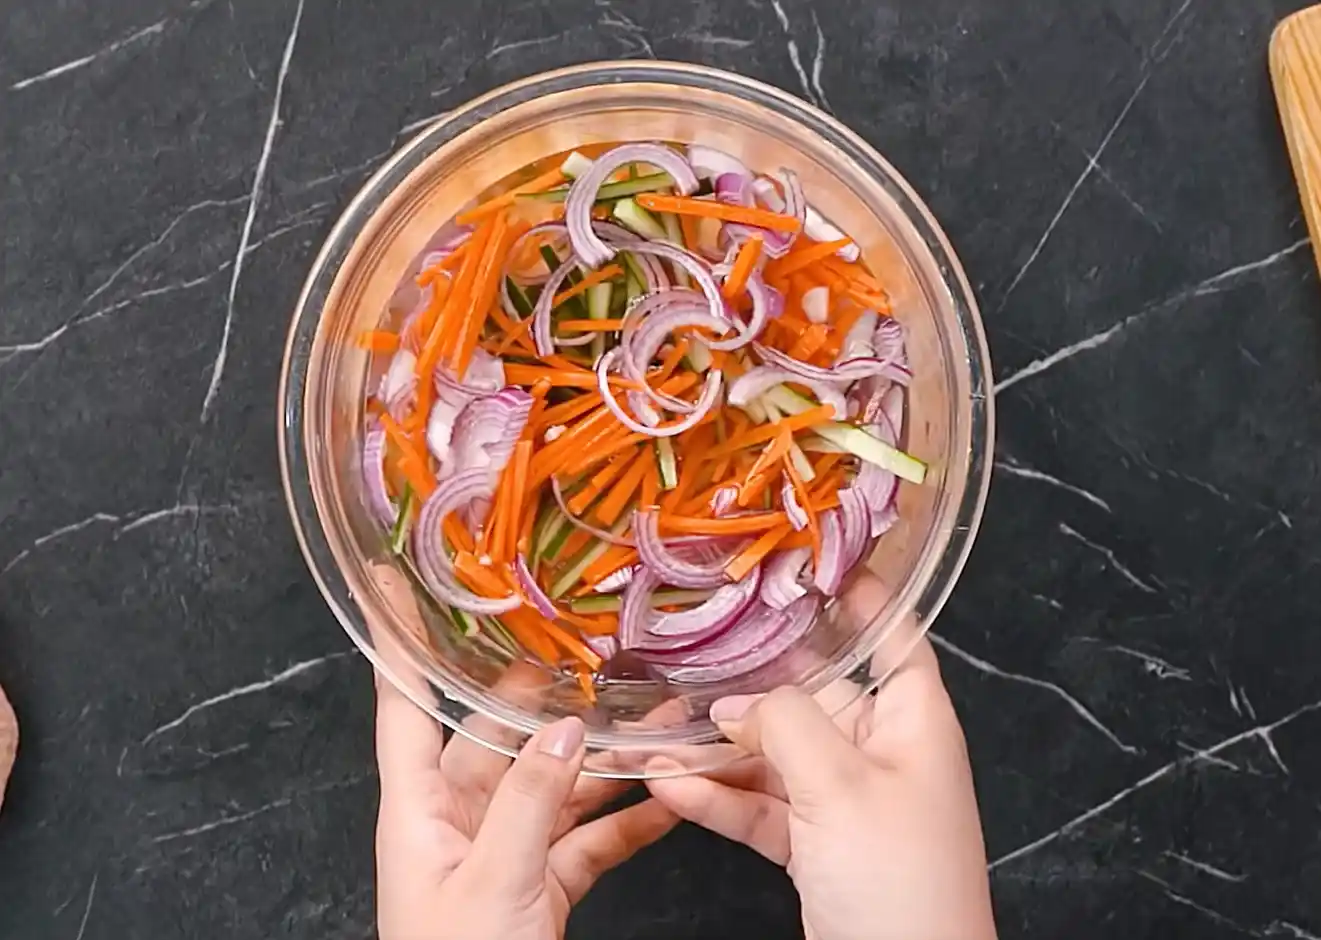
In a bowl combine the white vinegar water sugar and salt and stir until the sugar and salt fully dissolve. Add your cucumber matchsticks carrot matchsticks and sliced red onion directly into this liquid. Make sure everything is submerged press the vegetables down gently with a spoon if needed.
Let this sit on the counter while you prepare the rest of the recipe. You’re not making a traditional long fermented pickle here this is a fast pickle sometimes called a quick pickle or refrigerator pickle and even 10 minutes is enough to soften the sharp edge of the raw onion and give the cucumber and carrot a pleasant tang. If you have more time letting it sit for 30 minutes to an hour in the fridge will deepen the flavor even further but it’s absolutely not required this recipe is built for speed.
Why bother pickling instead of just using raw vegetables? Raw onion in a wrap can be overpoweringly sharp and plain cucumber and carrot don’t add much beyond crunch. The quick pickle mellows the onion adds acidity that balances the richness of the fried chicken and mayo and gives the vegetables a slightly softened more pleasant bite. It’s a small step that makes a noticeably bigger difference in the final flavor.
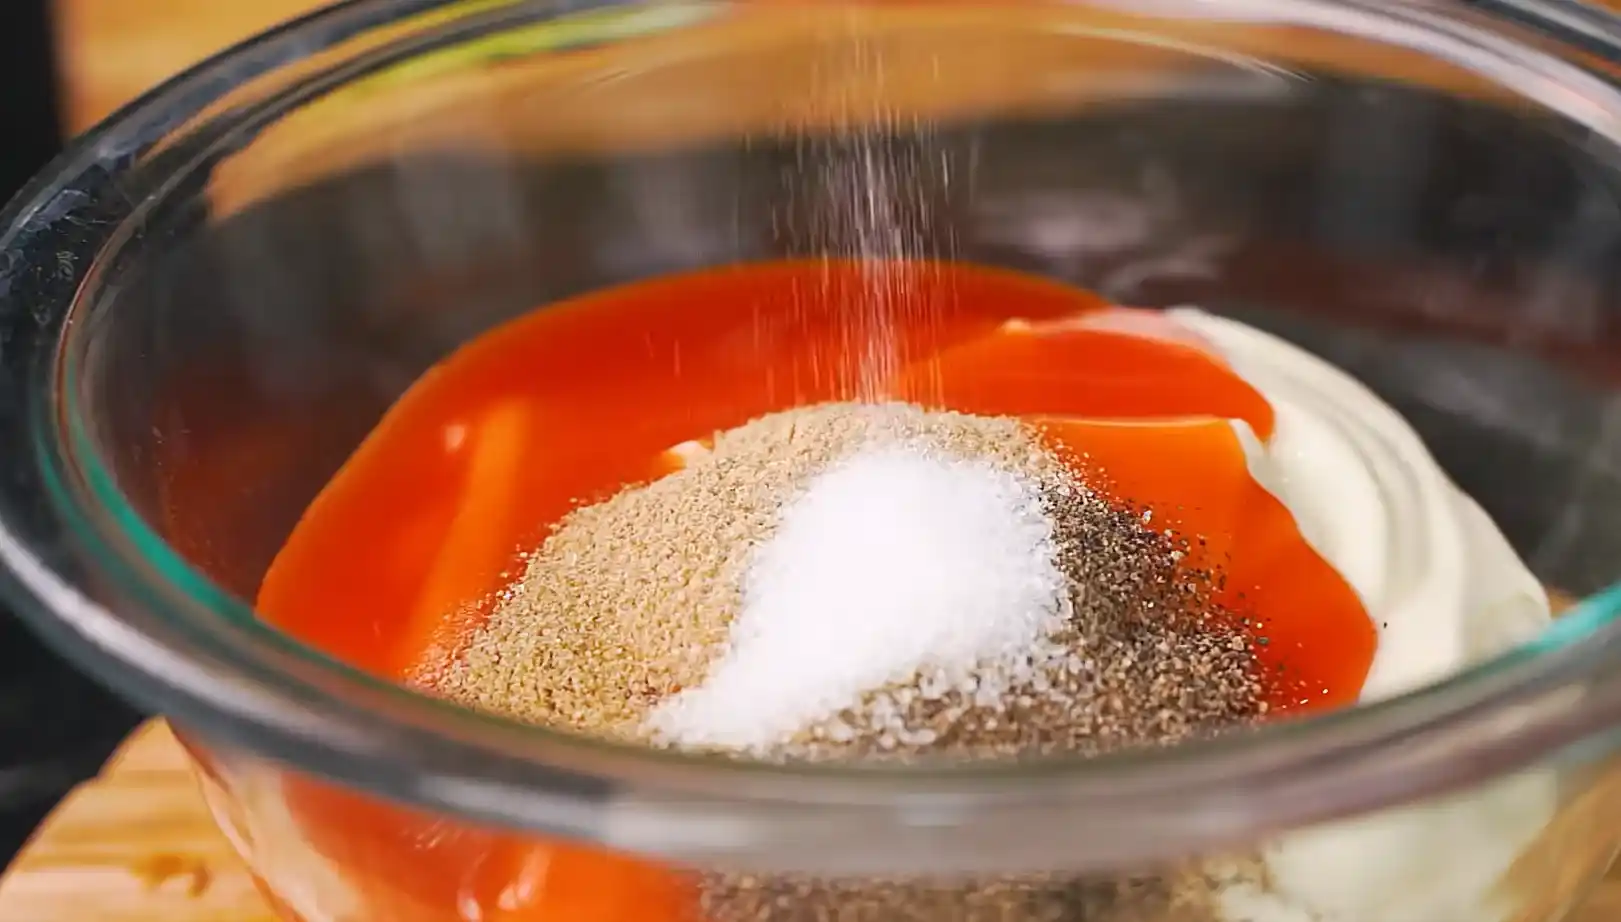
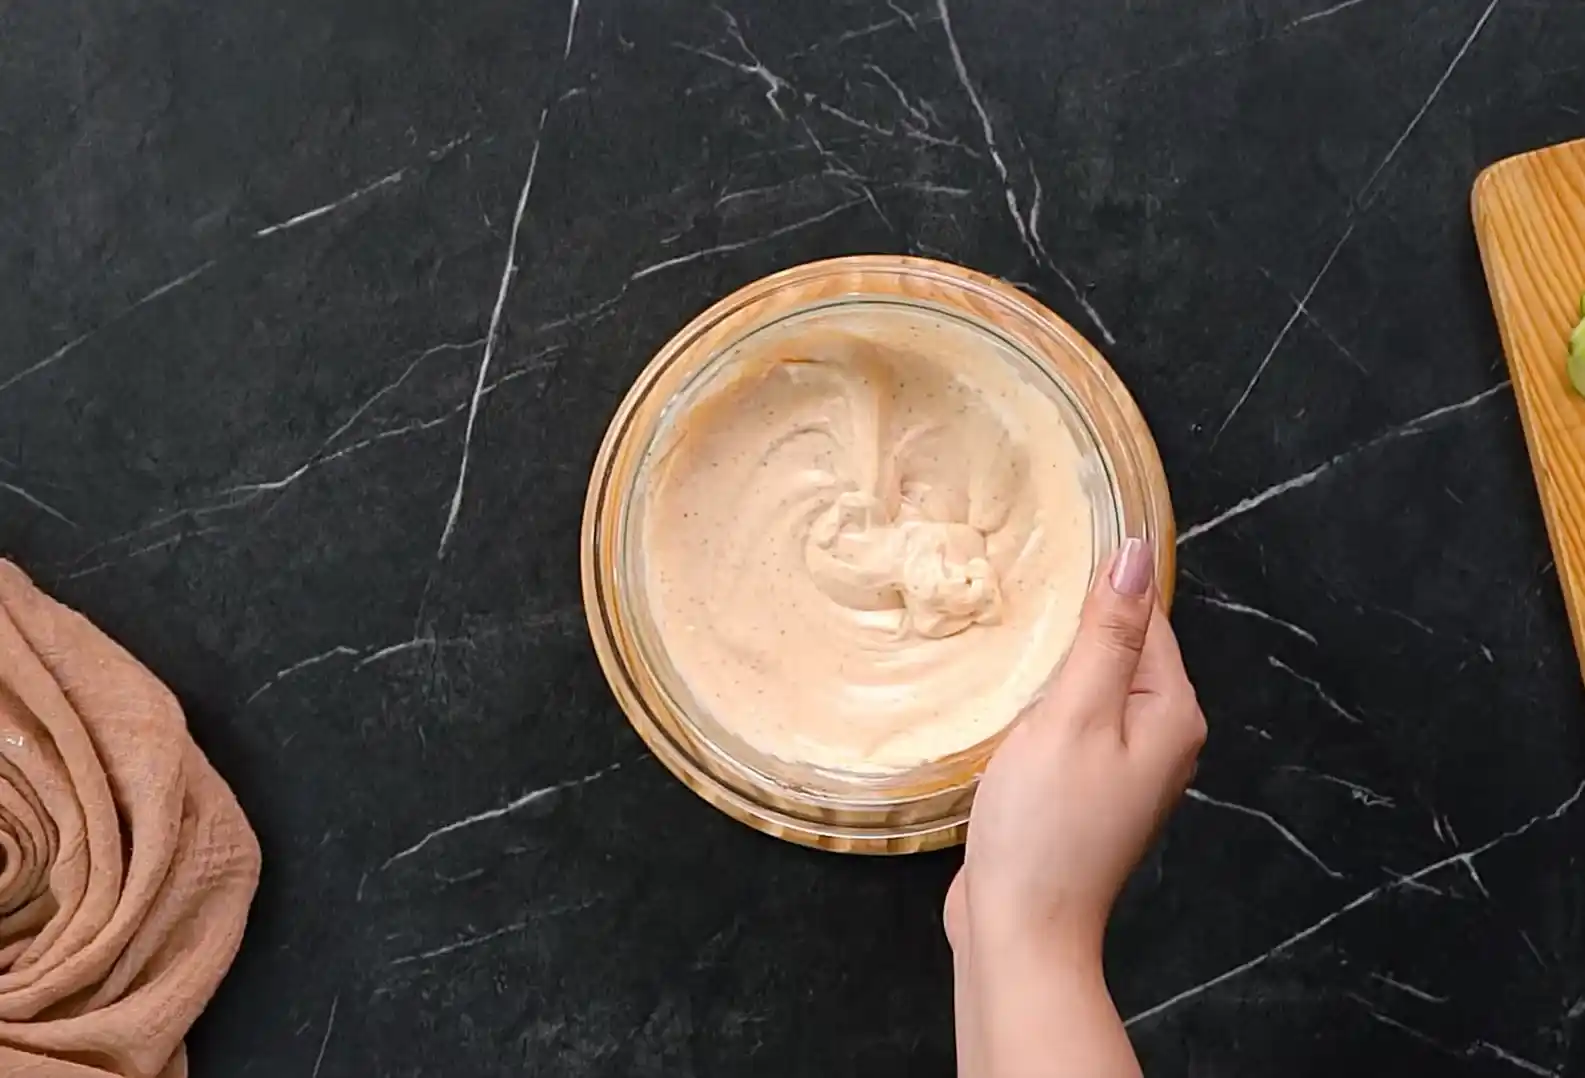
While your vegetables pickle mix the sauce. In a separate bowl add the mayonnaise and hot sauce together. Sprinkle in the garlic powder sugar and black pepper directly on top then whisk everything together until you get a smooth uniform pale orange sauce with no streaks of plain mayo or hot sauce remaining.
Taste it before moving on. If you want more heat add an extra half tablespoon of hot sauce. If it tastes too sharp or vinegary a small pinch more sugar will round it out. This sauce should taste bold on its own spicy garlicky and a little sweet because once it’s inside the wrap with chicken tortilla and vegetables its flavor will mellow out and blend into the whole bite. If it tastes perfectly balanced on a spoon by itself it will likely taste under seasoned inside the finished wrap.
Set the sauce aside. You can make this a day ahead if you want to prep in advance it keeps well covered in the fridge for up to 4-5 days.
Heat oil in a deep pan or fryer to around 350-375°F (175-190°C). You want the oil genuinely hot before the chicken goes in if it’s too cool the breading will absorb oil and turn greasy and soft instead of crisp.
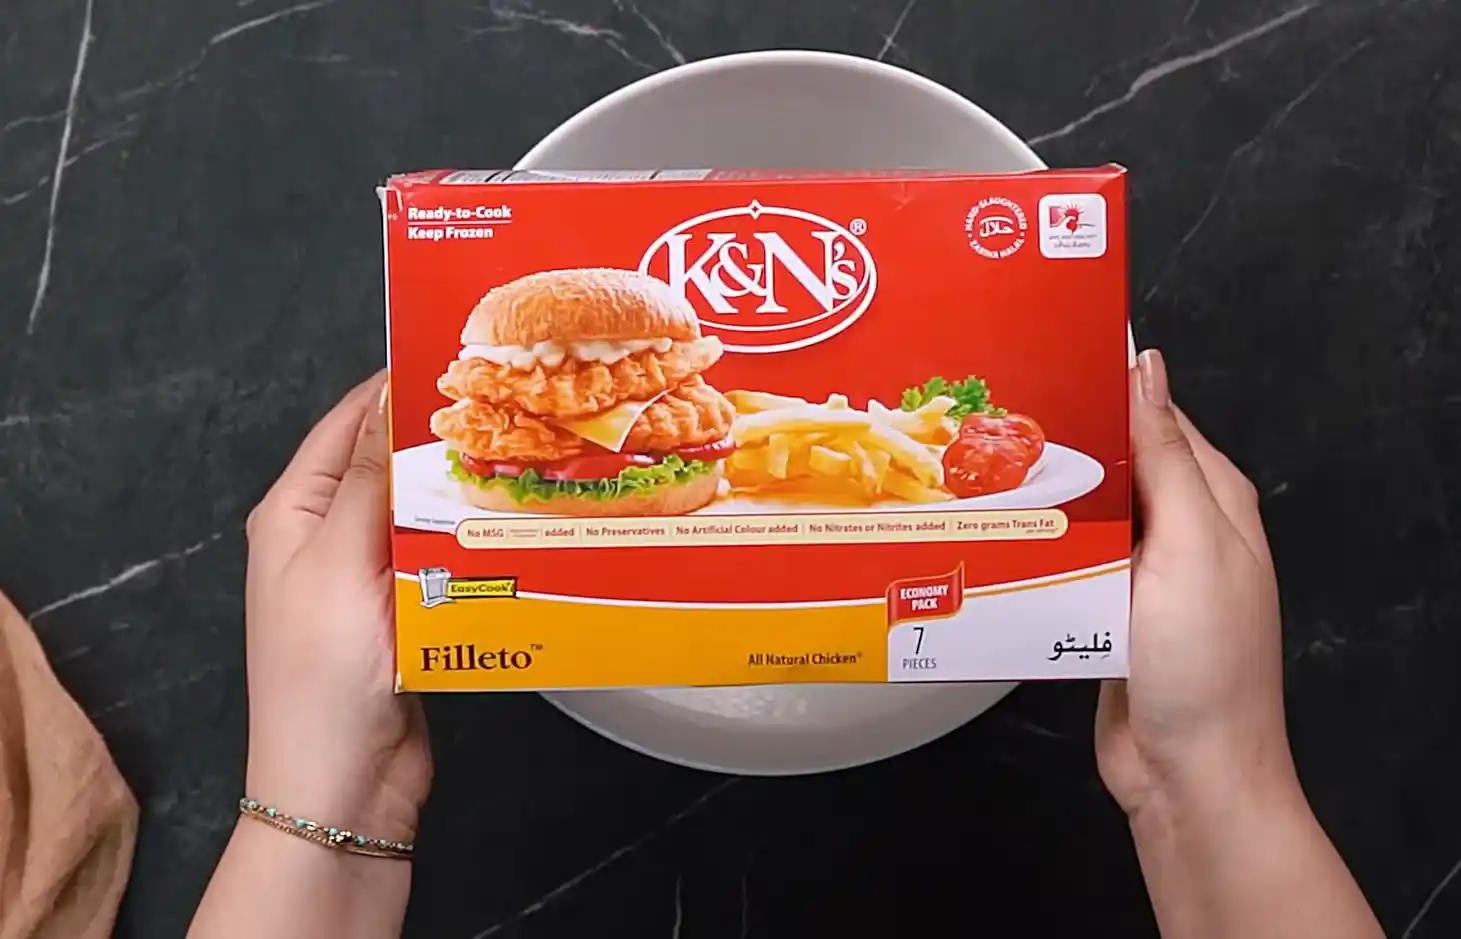
Take your frozen breaded chicken fillets directly from the freezer there’s no need to thaw them first since these are designed to be cooked from frozen for the best texture. Carefully lower them into the hot oil using a slotted spoon or frying basket to avoid splashing.
Fry for about 5-7 minutes turning occasionally until the coating is deep golden brown and crisp all over. The internal chicken should reach an internal temperature of 165°F (74°C) to be fully and safely cooked through if you don’t have a thermometer cut into the thickest piece to check that the meat inside is opaque white all the way through with no pink.
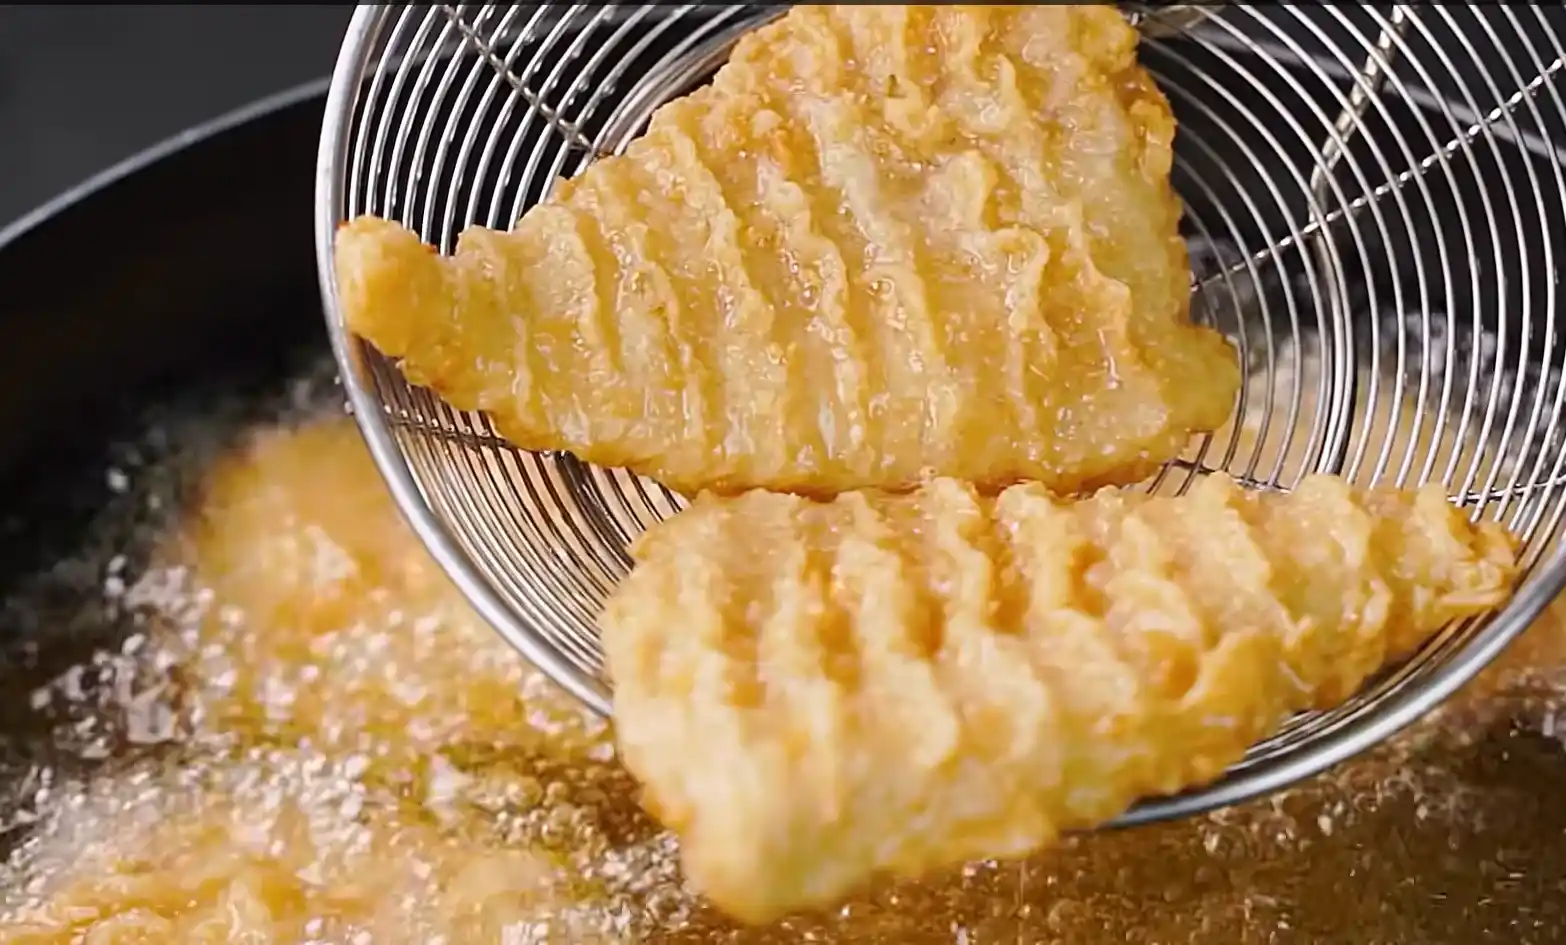
Once done lift the fillets out and let them rest briefly on a wire rack or paper towel lined plate to drain excess oil. Resting them on a rack rather than directly on paper towels helps keep the bottom of the coating from turning soggy.
A note on frying temperature control: if you’re frying multiple fillets the oil temperature will drop each time you add a new piece. Give the oil a minute or two to come back up to temperature between batches rather than crowding the pan overcrowding is one of the most common reasons homemade fried chicken turns out soggy instead of crisp.
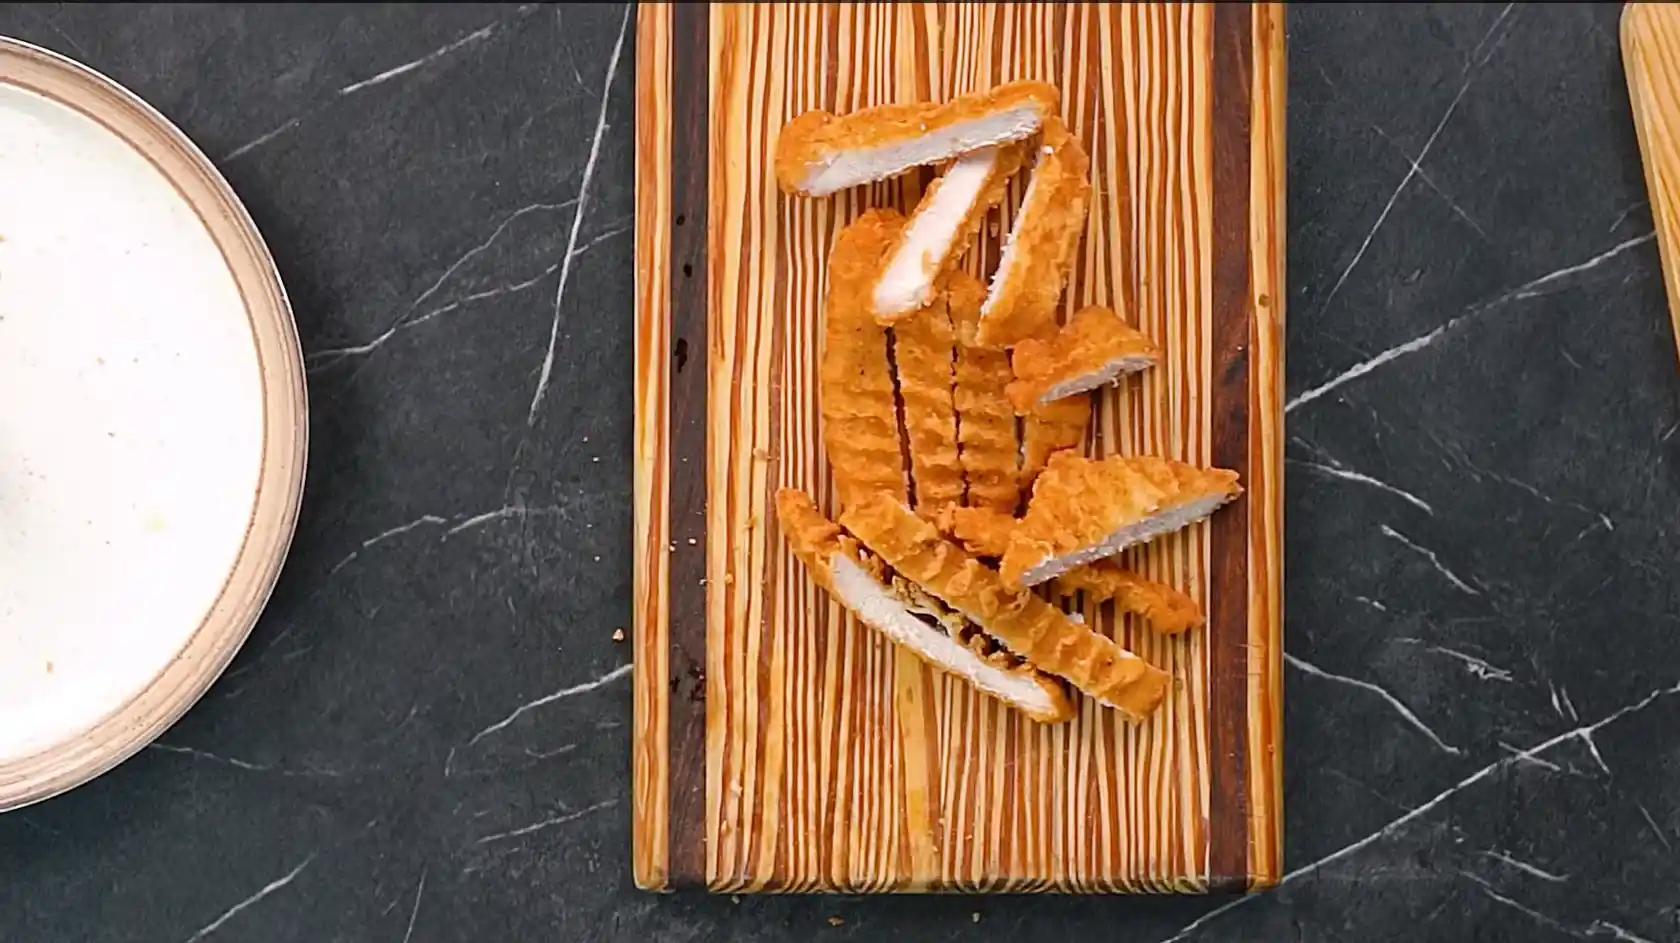
Once the fried chicken fillets have cooled just enough to handle safely a minute or two out of the oil slice each one into long strips roughly ¾ inch wide. Cutting on a slight diagonal gives you longer, more attractive strips that lay nicely inside the wrap.
Slicing while the chicken is still warm (not hot) makes for cleaner cuts and keeps the coating from crumbling apart. You’ll notice the crispy ridged coating holds together well and the inside stays tender and juicy this is exactly the texture contrast you want for the wrap.
This step is easy to skip but don’t. Place your flour tortilla in a dry ungreased skillet over medium heat for about 20-30 seconds per side just until you see light golden brown spots forming and the tortilla becomes soft and pliable.
A cold tortilla straight from the package is stiff and prone to cracking or tearing the moment you fold it around a filling. A warmed tortilla on the other hand becomes flexible enough to roll tightly without splitting and it also picks up a faint toasted flavor that makes the whole wrap taste more complete. This takes less than a minute per tortilla and is genuinely one of the highest impact lowest effort steps in this entire recipe.
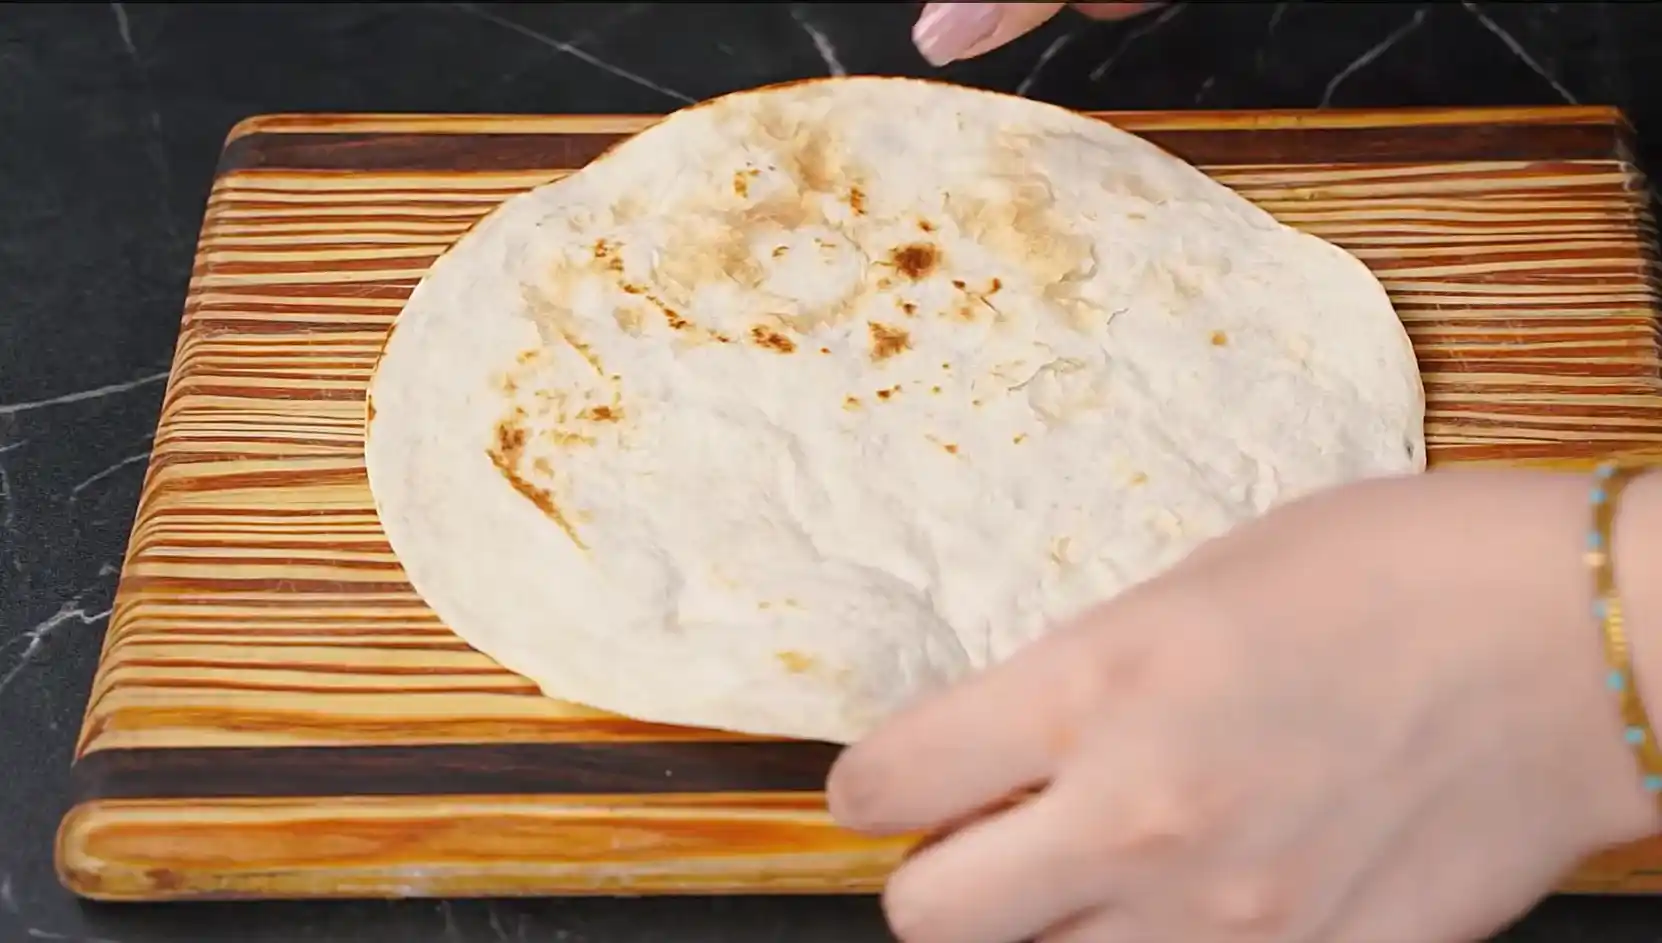
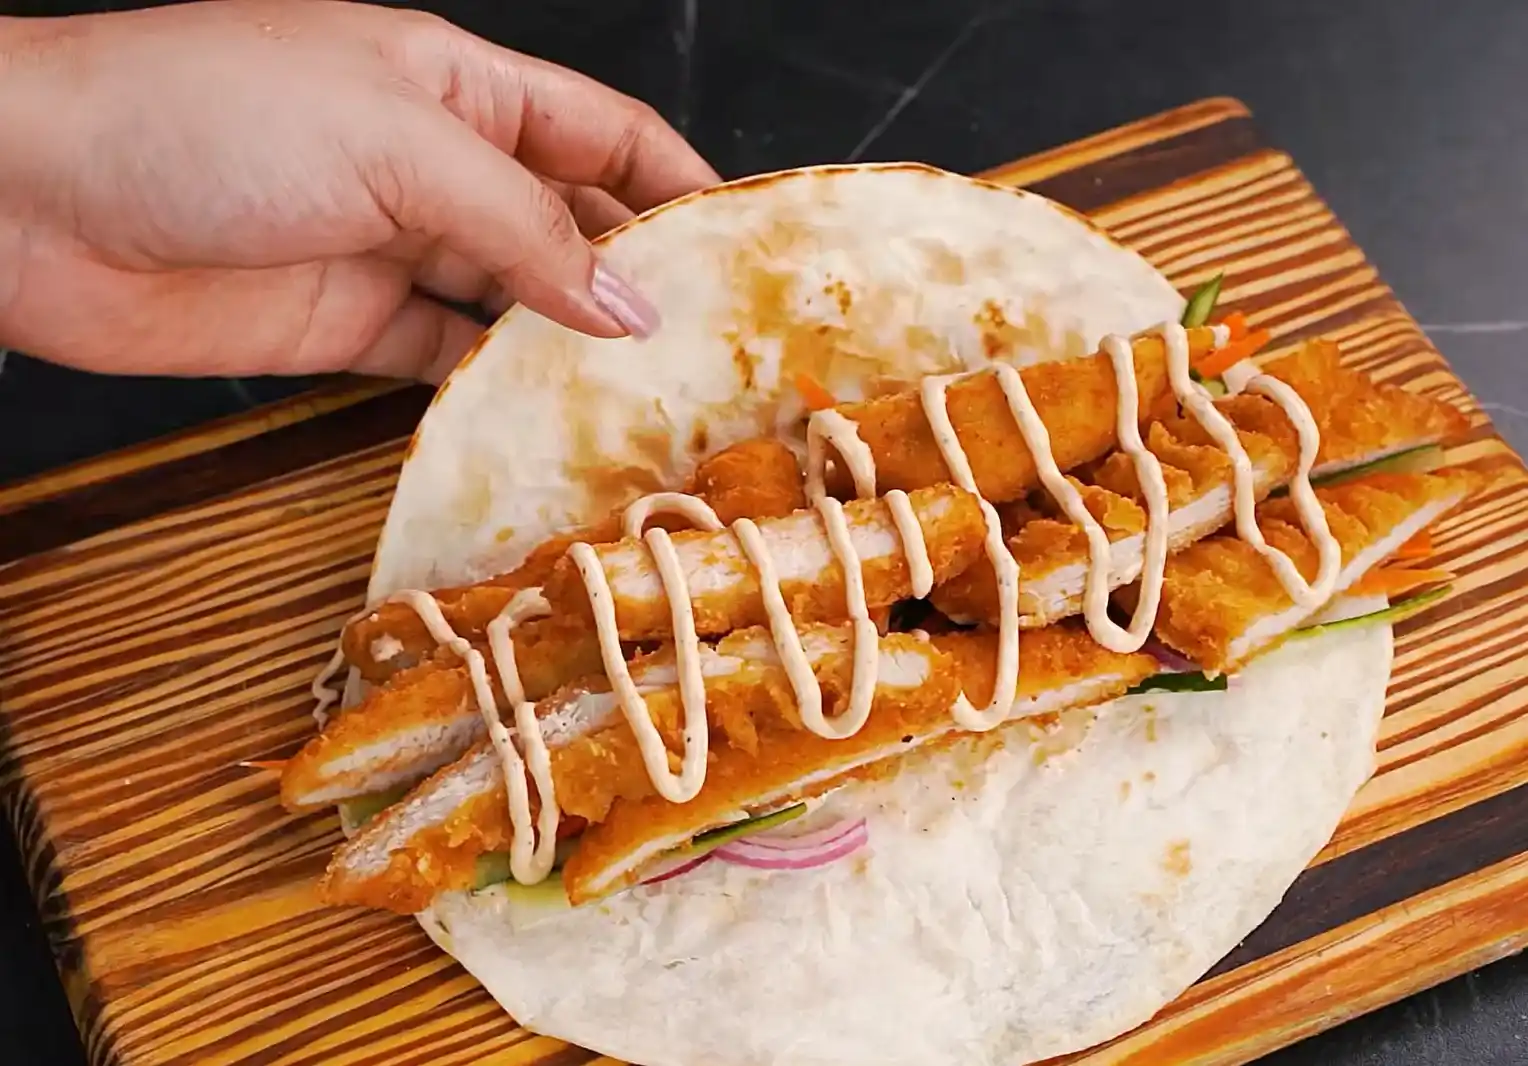
Lay your warmed tortilla flat on a clean cutting board or plate. Starting slightly below the center layer your ingredients in this order for the best structural result:
Don’t overfill it it’s tempting to pile everything in but a wrap that’s too full will be impossible to roll tightly and will fall apart the moment you pick it up. Aim for a filling that’s about 2-3 inches wide down the center of the tortilla leaving room on the sides to fold.
To roll fold the bottom edge of the tortilla up and over the filling first tucking it slightly to keep everything contained. Then fold in the left and right sides toward the center. Finally, continue rolling from the bottom up into a tight cylinder keeping the pressure even so the wrap holds its shape.
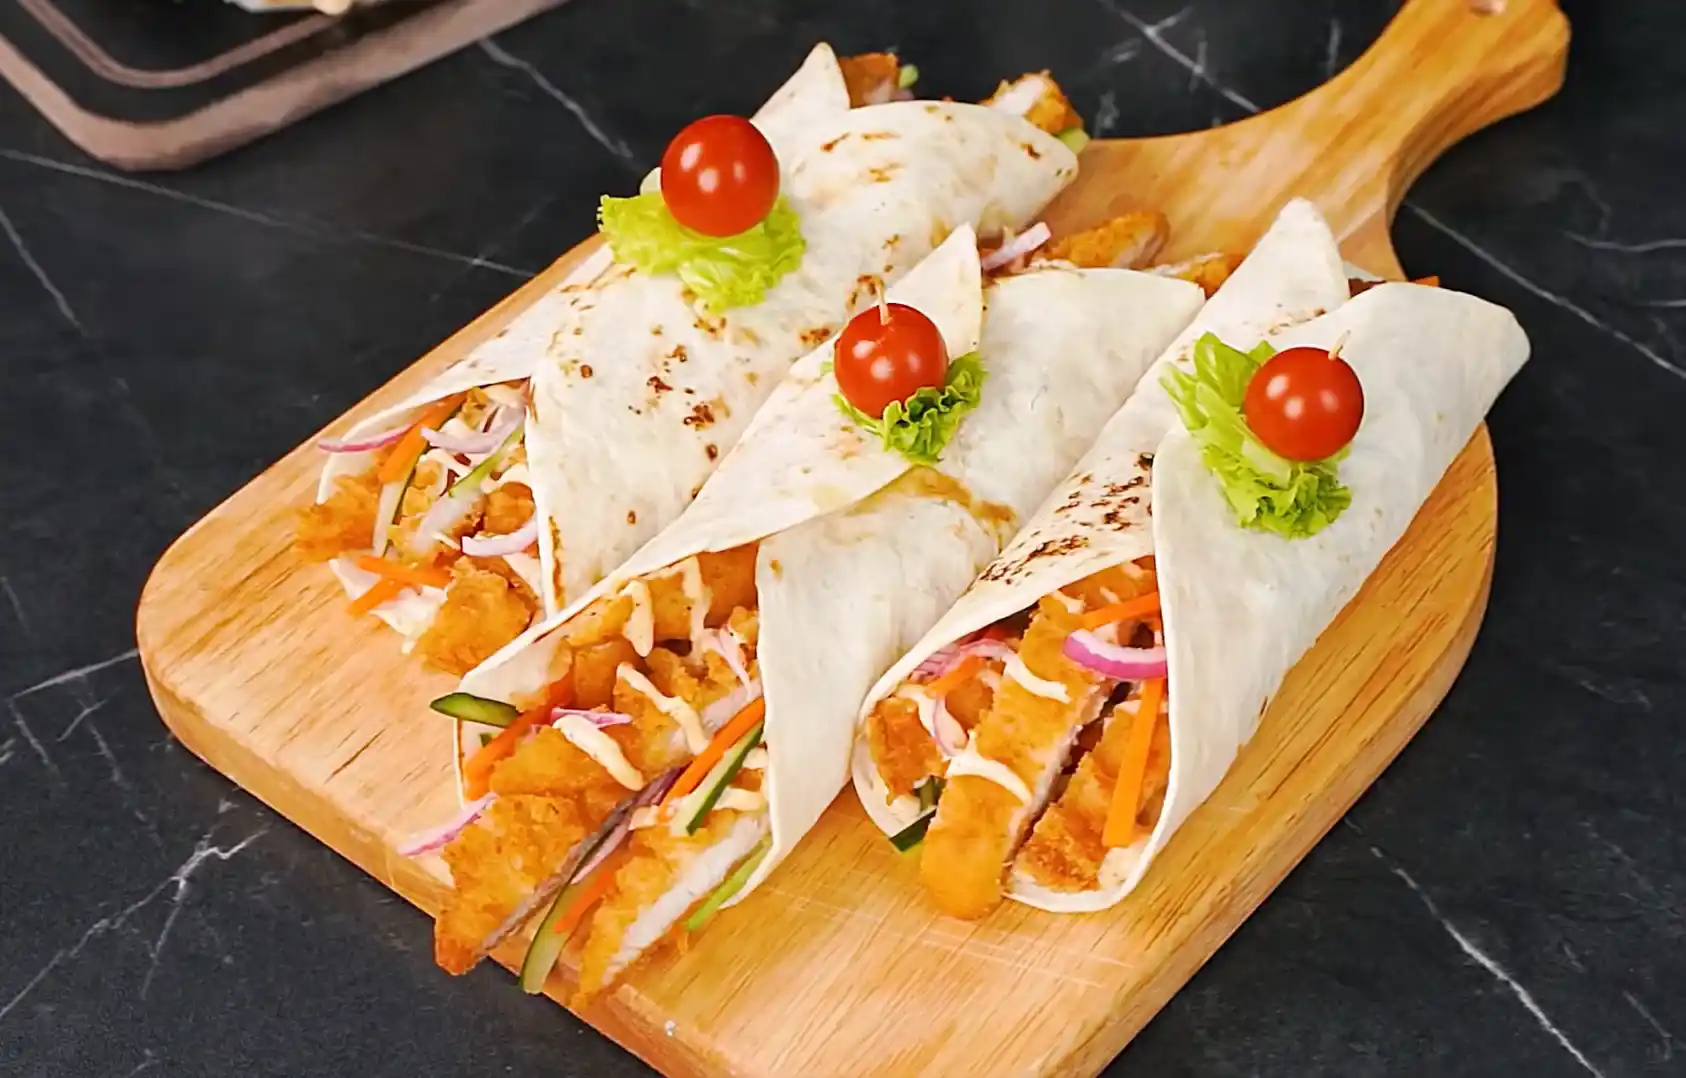
Cut each wrap in half on a diagonal for that classic food stall presentation this also makes it easier to eat and shows off the colorful layers inside. If you want to make it look extra polished for photos or guests skewer a cherry tomato half and a small piece of lettuce onto a toothpick and place it at the top of each wrap half right where the tortilla edges meet. It’s a small touch but it makes the wraps look like they came from a professional kitchen rather than a home one.
Serve immediately while the chicken is still warm and crisp. These wraps are genuinely best eaten fresh the contrast between the hot crunchy chicken and the cool tangy pickled vegetables is the whole point and that contrast fades the longer the wrap sits.
Don’t skip draining the pickled vegetables: Excess pickling liquid is the number one reason wraps turn soggy and fall apart. Give the vegetables a gentle squeeze or let them sit in a strainer for a minute before adding them to the tortilla.
Fry in batches not all at once. As mentioned above,crowding the fryer drops the oil temperature and leads to greasy unevenly cooked coating. Patience here pays off in crunch.
Warm your tortillas even if you’re in a rush: It genuinely takes under a minute and prevents the single most common wrap-assembly failure cracking and tearing.
Make the sauce ahead of time. Since it keeps well in the fridge for several days doubling the sauce recipe and keeping extra on hand means your next batch of wraps comes together even faster and you’ll have extra for dipping fries or other snacks.
Adjust the heat to your taste: The 3 tablespoons of hot sauce in this recipe gives a noticeable kick without being overwhelming but you can easily scale it up or down. If you’re serving this to kids or anyone sensitive to spice start with 1 tablespoon and add more gradually.
Use a good non stick or cast iron pan for the tortillas: A pan that’s too hot will scorch the tortilla before it becomes pliable so keep the heat at medium and watch closely.
Swap the protein: While this recipe uses a ready to cook breaded chicken fillet for convenience you can absolutely use your own breaded chicken tenders grilled chicken strips or even crispy fried shrimp for a different take on the same wrap structure.
Make it a salad instead: All the same components pickled vegetables crispy chicken strips and spicy mayo work beautifully served over a bed of lettuce instead of wrapped in a tortilla if you’re looking for a lower carb option.
Add cheese: A thin layer of shredded cheddar or a slice of American cheese added right after the warm chicken goes on will melt slightly from the residual heat and add another layer of richness.
Try a different sauce: If spicy mayo isn’t your thing a garlic yogurt sauce ranch dressing or a simple honey mustard all pair well with the same crispy chicken and pickled vegetable combination.
Go bigger with a platter: Multiply the recipe and serve the components separately a platter of crispy chicken strips a bowl of pickled vegetables warm tortillas and the sauce on the side so everyone can build their own wrap exactly how they like it. This works especially well for casual get togethers.
Air fry precooked or frozen chicken tenders at 200°C (400°F) for 8–10 minutes, place them on a tortilla with sauce and toppings, and wrap it up.
Mix 3 tbsp mayonnaise, 1 tbsp ketchup or garlic sauce, 1 tsp mustard, and 1/2 tsp honey with a pinch of black pepper.
Coat buttermilk marinated chicken strips in seasoned flour, deep fry until crispy, and wrap in a tortilla with mayo, pickles, and lettuce.
Cook breaded chicken strips at 190°C–200°C (375°F–400°F) for 12–15 minutes, flipping halfway through.
Place a crispy fried chicken tender on a warm tortilla top with shredded lettuce, diced tomatoes, shredded cheddar and mayo or ranch sauce.
Use shredded cabbage, thinly sliced cucumbers, diced bell peppers, or pickles to keep the crunch without lettuce.
Mix cabbage, carrots, mayo, and black pepper for coleslaw, then layer it directly over crispy chicken tenders inside a warm tortilla.
Spread mayo and ketchup on a tortilla add fried or air fried chicken strips with cheese roll it up and toast on a pan for 1 minute.
If you happen to have leftover components after making this recipe here’s how to keep each part at its best.
Pickled vegetables: Stay good in the refrigerator for up to 3 days in an airtight container fully submerged in their pickling liquid. The flavor actually improves slightly on day two as the vegetables absorb more of the vinegar and sugar mixture.
The spicy mayo sauce: Keeps well for 4-5 days in the fridge in a sealed jar or container. Give it a quick stir before using since the hot sauce and mayo can separate slightly over time.
Cooked chicken fillets: Are best eaten the same day but if you do have leftovers store them in an airtight container in the fridge for up to 2 days. To reheat avoid the microwave since it will turn the crispy coating rubbery and soft. Instead, reheat in an air fryer at 375°F (190°C) for 4-5 minutes or in a conventional oven at 400°F (200°C) for about 8-10 minutes until the coating crisps back up and the chicken is heated through.
Assembled wraps: Don’t store or freeze well since the tortilla will absorb moisture from the sauce and vegetables and turn soft within a few hours. For the best experience always assemble your wrap right before eating and simply keep the individual components ready in the fridge so assembly takes under two minutes.
This crispy chicken wrap proves that a genuinely satisfying restaurant quality meal doesn’t need to take an hour of prep or a long ingredient list. By leaning on a convenient pre breaded chicken fillet and building real flavor through a quick pickle and a well balanced sauce you get all the crunch tang spice and satisfaction of a food stall favorite in about 10 minutes flat. Whether you’re making it for a quick weeknight dinner a packed lunch or a casual gathering with friends this is the kind of recipe that earns a permanent spot in your regular rotation.
Air fry or deep fry breaded chicken tenders until golden, then slice them into bite-sized pieces. Spread mayonnaise and ketchup on a warm tortilla, add lettuce, tomatoes, cheese, and the crispy chicken, then roll tightly and serve.

5 Responses