
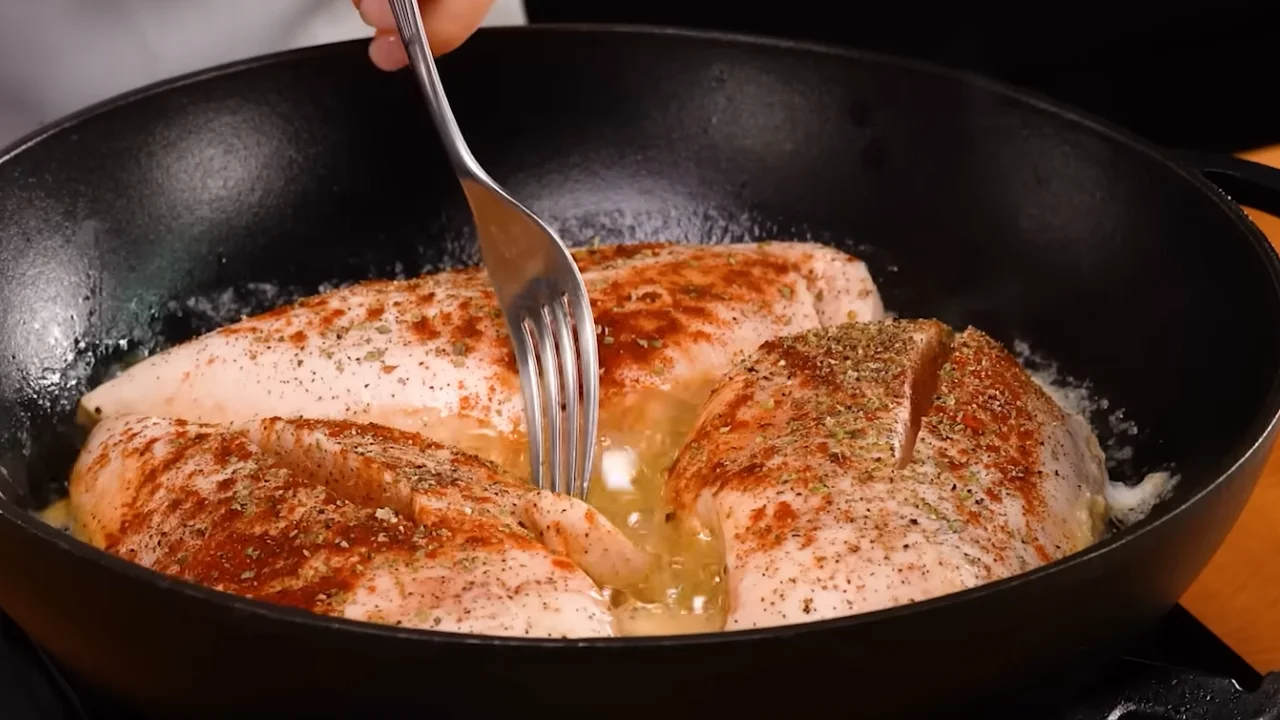
Chicken breast is one of the most popular proteins in the world and also one of the easiest to ruin. Most people have experienced the disappointment of cutting into a piece of chicken only to find it dry, stringy, and bland. The good news is that this problem is completely fixable once you understand a few simple principles.
This complete guide will teach you how to cook chicken breast on the stove so it turns out juicy, tender, and delicious every single time. You will learn the science behind why chicken dries out, the exact techniques professionals use, step-by-step instructions, advanced tips, common mistakes to avoid, seasoning ideas, storage methods, and much more.
By the end of this article, you will have a reliable method you can repeat on busy weeknights with confidence.
Most recipes simply say “season and cook until done.” This guide goes deeper. It explains the why behind every step so you understand what is happening to the meat and how to control it. Once you understand the principles, you can adapt the method to any seasoning, sauce, or side dish.
Chicken breast is a lean cut. Unlike thighs or legs, it contains very little intramuscular fat. Fat acts as a natural buffer against heat and helps keep meat moist. Without that buffer, chicken breast is much more sensitive to temperature and cooking time.
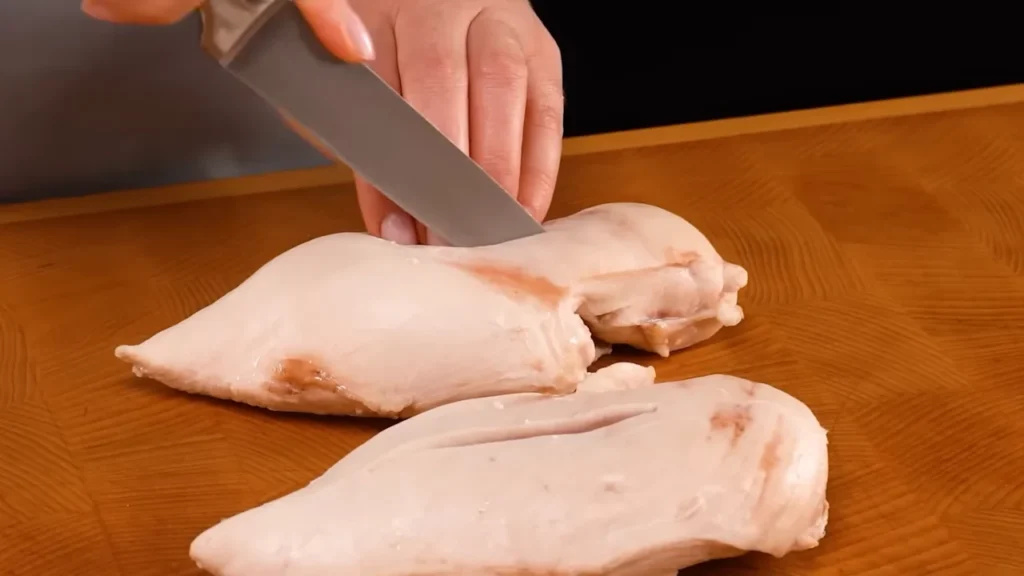
A raw chicken breast is almost never uniform in thickness. One end is significantly thicker than the other. When you place it in a hot pan, the thin end reaches a safe temperature much faster than the thick end. By the time the thickest part is cooked through, the thinner part has already lost most of its moisture and become tough.
This is the single biggest reason home-cooked chicken breast turns out dry.
As chicken cooks, the proteins begin to tighten and contract. This process squeezes out the water that is naturally held inside the muscle fibers. The longer the chicken stays above a certain temperature, the more moisture is pushed out. If the heat is too high or the cooking time is too long, the meat ends up dry and stringy.
This is also confirmed according to Serious Eats in their detailed food science guide. Your goal is to cook the chicken just long enough to reach a safe internal temperature while losing as little moisture as possible.
Every successful method for cooking chicken breast rests on three core principles:
Master these three things and your results will improve dramatically.
The most effective way to solve the uneven thickness problem is to pound the chicken breast. Place the meat between two sheets of plastic wrap or parchment paper and gently pound it with a meat mallet or rolling pin until it is an even ½ to ¾ inch thick.
This does two important things:
Do not pound too aggressively. The goal is to flatten, not destroy the structure of the meat.
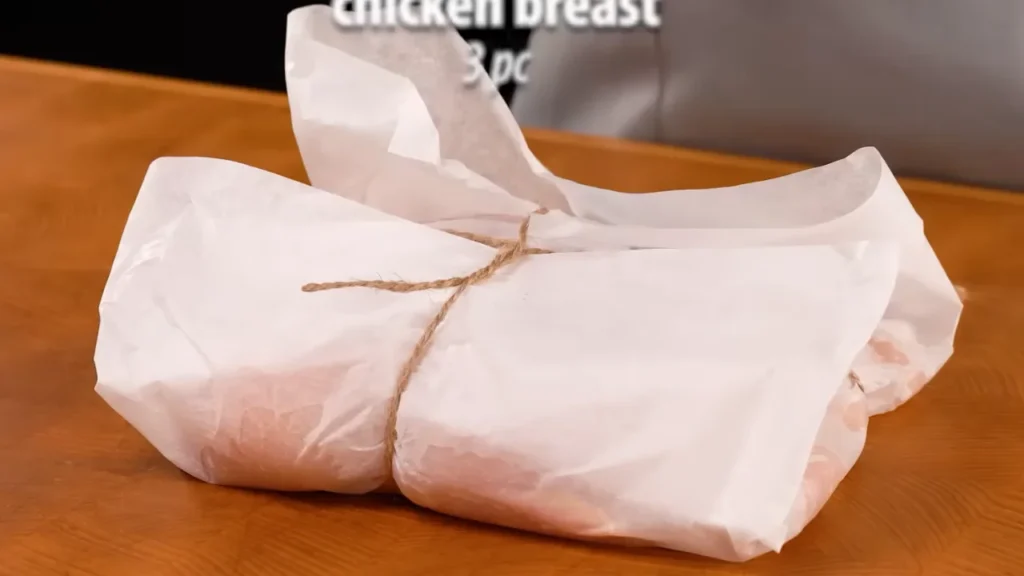
Surface moisture is the enemy of a good sear. When chicken goes into a hot pan while still wet, the water turns to steam. Steam prevents the Maillard reaction (the browning process that creates flavor and color). Always pat the chicken completely dry with paper towels before seasoning.
Internal moisture is protected through techniques like brining and proper resting, which we will cover in detail later.
Chicken breast is safe to eat at 165°F according to the USDA (74°C). However, many experienced cooks remove it from the heat at 160°F and allow carryover cooking explained by Serious Eats during the rest period to bring it up to the final safe temperature. This small adjustment can make a noticeable difference in juiciness.
A digital meat thermometer is the most reliable tool you can own for cooking chicken breast. Visual cues alone are not accurate enough.
You do not need expensive tools, but a few items make a significant difference.
Heavy-bottomed skillet Cast iron or a thick stainless-steel pan distributes heat evenly and retains temperature when the chicken is added. Thin pans create hot spots that burn one area while undercooking another.
Digital meat thermometer This removes all guesswork. Instant-read models are ideal.
Meat mallet or rolling pin For evening out the thickness.
Paper towels For thorough drying.
Tongs For flipping without piercing the meat and releasing juices.
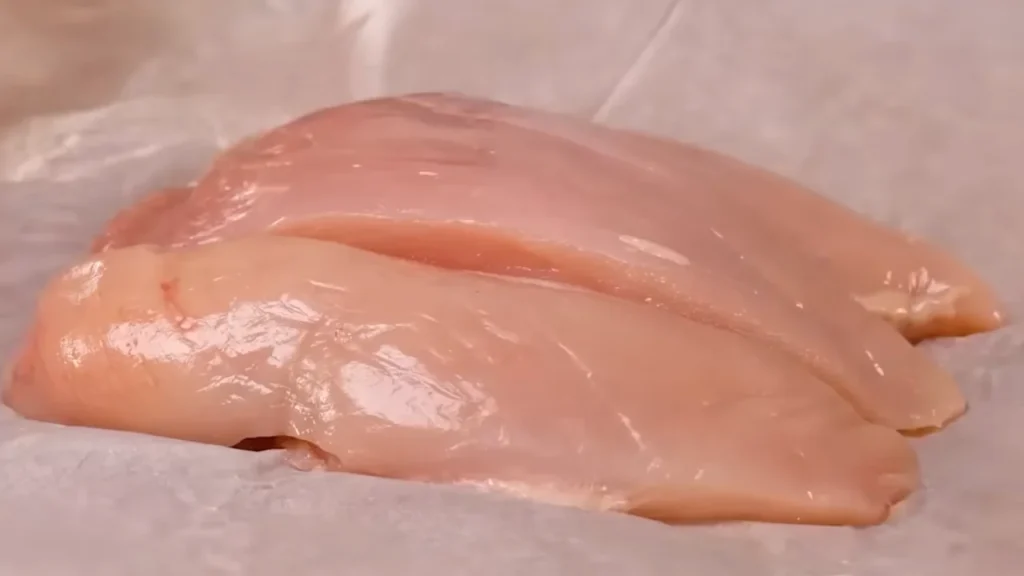
Follow these steps exactly for consistent results.
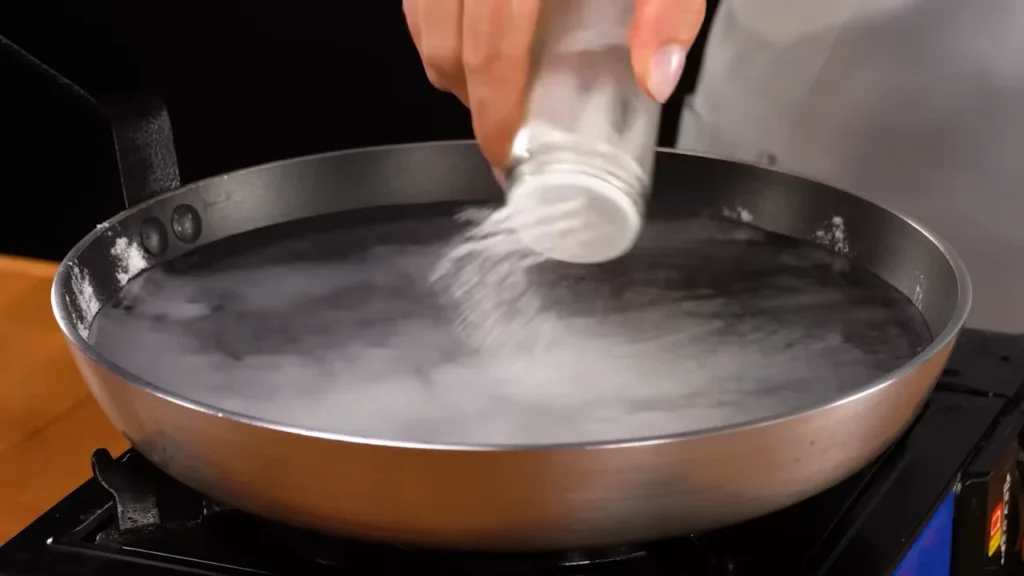
Dissolve the salt (and sugar if using) in the water. Submerge the chicken breasts and refrigerate for 30 minutes to 2 hours. Do not exceed 4 hours or the texture can become spongy.
After brining, remove the chicken, rinse briefly under cold water, and pat extremely dry with paper towels. Discard the brine.
This is a proven brining method from Serious Eats that many professional cooks rely on.
Place each chicken breast between plastic wrap. Using the flat side of a meat mallet, gently pound until the meat is an even ½ to ¾ inch thick. Focus more pressure on the thick end.
Season both sides generously with salt, pepper, garlic powder, and paprika. If you brined the chicken, reduce the added salt slightly. Let the seasoned chicken sit at room temperature for 15–20 minutes. This helps it cook more evenly.
Place your heavy skillet over medium-high heat. Add the oil and wait until it shimmers. The oil should move freely across the surface but should not be smoking heavily.
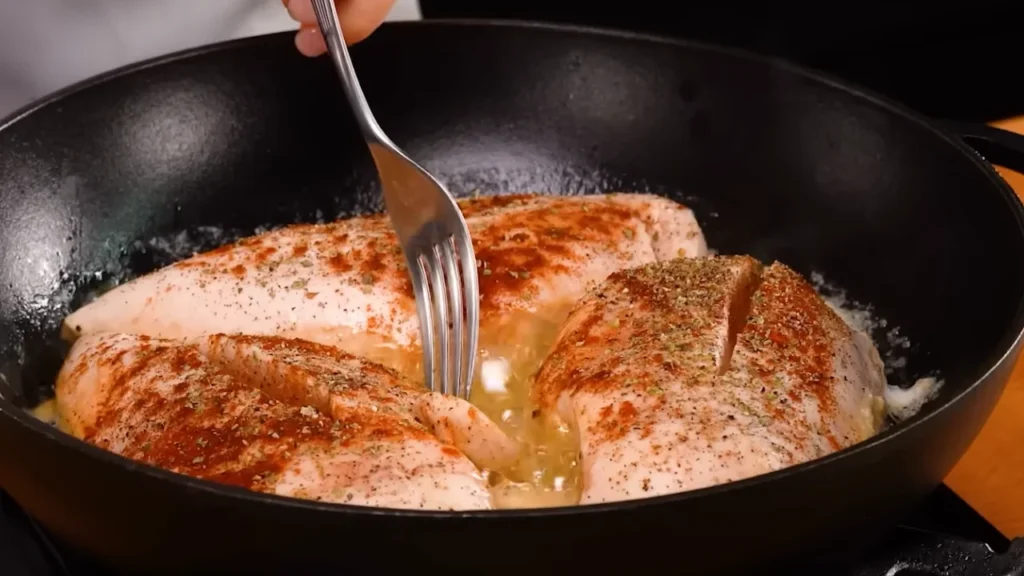
Carefully lay the chicken in the pan. Do not move it for 4–5 minutes. This is the key to how to get a perfect sear on chicken breast. When the chicken is ready to flip, it will release easily from the pan.
Flip the chicken and cook for another 4–6 minutes. If the spices begin to darken too quickly, reduce the heat slightly to medium.
Insert a digital thermometer into the thickest part of the breast. You are looking for 160–165°F. If it is below 160°F, continue cooking for another minute or two and check again.
Transfer the chicken to a clean plate or cutting board. Let it rest for a full 5 minutes before slicing. During this time the juices redistribute throughout the meat instead of running out onto the plate.
After removing the chicken, keep the skillet on medium heat. Add a splash of chicken broth, white wine, or lemon juice. Scrape up the browned bits (fond) with a wooden spoon. Let the liquid reduce for 1–2 minutes, then stir in a small pat of butter and fresh herbs. Pour over the rested chicken.
During the last two minutes of cooking, add a tablespoon of butter along with a crushed garlic clove and a sprig of thyme. Tilt the pan and spoon the foaming butter over the chicken repeatedly. This adds richness and helps finish the cooking gently.
If your chicken breasts are very thick even after pounding, you can start them in a 275°F oven until they reach about 145°F internally, then finish with a quick hard sear in a hot skillet for color and crust.
Avoid these frequent errors:
Once you master the basic method, try these flavor combinations:
Lemon Herb Salt, pepper, garlic powder, lemon zest, dried oregano, and thyme.
Smoky Paprika Salt, pepper, smoked paprika, cumin, and a pinch of cayenne.
Garlic Parmesan Salt, pepper, garlic powder, and grated Parmesan added in the last minute of cooking.
Everything Bagel Style Salt, pepper, and everything bagel seasoning after cooking.
Simple Salt & Pepper Sometimes the best version is the most minimal.
Juicy chicken breast pairs well with almost anything. Here are some reliable combinations:
Refrigerator: Store cooked chicken in an airtight container for 3–4 days.
Freezer: Wrap tightly and freeze for up to 3 months. Thaw overnight in the refrigerator.
Reheating: The best way is to warm it gently in a covered skillet with a splash of broth or water over low heat. Microwave reheating tends to dry it out unless you cover it and use lower power.
For meal prep, cook a batch on Sunday, slice it, and portion it with different sides for the week.
According to USDA nutritional data, a typical 6-ounce cooked chicken breast contains approximately:
Chicken breast is a complete protein, meaning it contains all nine essential amino acids. It is naturally low in saturated fat and carbohydrates, making it suitable for many dietary approaches including high-protein, low-carb, and balanced eating plans.
To cook juicy chicken breast, pound it to an even thickness, pat it completely dry, season well, sear in a hot pan without moving it, cook to 160–165°F, and rest for 5 minutes before slicing. The resting step is essential because it allows the juices to redistribute instead of running out.
Chicken breast is safely cooked at an internal temperature of 165°F (74°C). For maximum juiciness, many cooks remove it from the heat at 160°F and let carryover cooking bring it up to 165°F during the rest period.
It usually takes 8–12 minutes total on the stove, depending on thickness. Cook 4–5 minutes per side over medium-high heat, but always check the internal temperature instead of relying only on time.
Yes, brining is one of the best ways to keep chicken breast juicy. A simple saltwater brine for 30–60 minutes helps the meat retain more moisture during cooking. Rinse and thoroughly dry the chicken after brining.
Chicken breast turns out dry mainly because of uneven thickness, cooking it straight from the fridge, not drying the surface, overcooking past 165°F, or slicing it too early. Pounding the chicken even and resting it after cooking solves most of these problems.
It is not recommended. Cooking from frozen leads to uneven results — the outside overcooks while the inside stays underdone. Always thaw chicken breast completely in the refrigerator before cooking for the best texture.
A digital meat thermometer is the most reliable way to cook chicken breast perfectly. Color and cooking time alone are not accurate enough. Checking the thickest part of the meat removes the guesswork and prevents both undercooking and drying out.
Yes. Resting chicken breast for 5–10 minutes after cooking is one of the most important steps for juiciness. During this time the muscle fibers relax and reabsorb the juices, so the meat stays moist when you slice it.
Use a high smoke-point oil such as avocado oil, grapeseed oil, or refined olive oil. These oils can handle the medium-high heat needed for a good sear without burning or creating bitter flavors.
Yes. Cooked chicken breast keeps well in the refrigerator for 3–4 days in an airtight container. For best results when reheating, warm it gently in a skillet with a splash of broth instead of using the microwave on high power.
Cast iron or a heavy stainless-steel pan is better for pan-searing because it creates a superior golden crust. Nonstick pans work but usually produce less browning and flavor.
Reheat chicken breast gently in a covered skillet over low heat with a small splash of chicken broth or water. This method keeps the meat moist. Avoid high-power microwave reheating whenever possible.
Cooking perfect chicken breast is a skill that improves quickly once you understand the main principles: even thickness, dry surface, proper heat, accurate temperature, and resting. You do not need complicated recipes or special ingredients. You only need consistency and attention to a few key details.
Practice this method a few times and it will become second nature. Soon you will be able to produce juicy, flavorful chicken breast on demand for weeknight dinners, meal prep, or entertaining.
Once you have mastered the basic pan-seared version, experiment with different seasonings, sauces, and finishing techniques. The foundation stays the same; only the flavors change.
Juicy chicken breast is not a matter of luck. It is a matter of technique. Now you have the complete technique.

2 Responses